
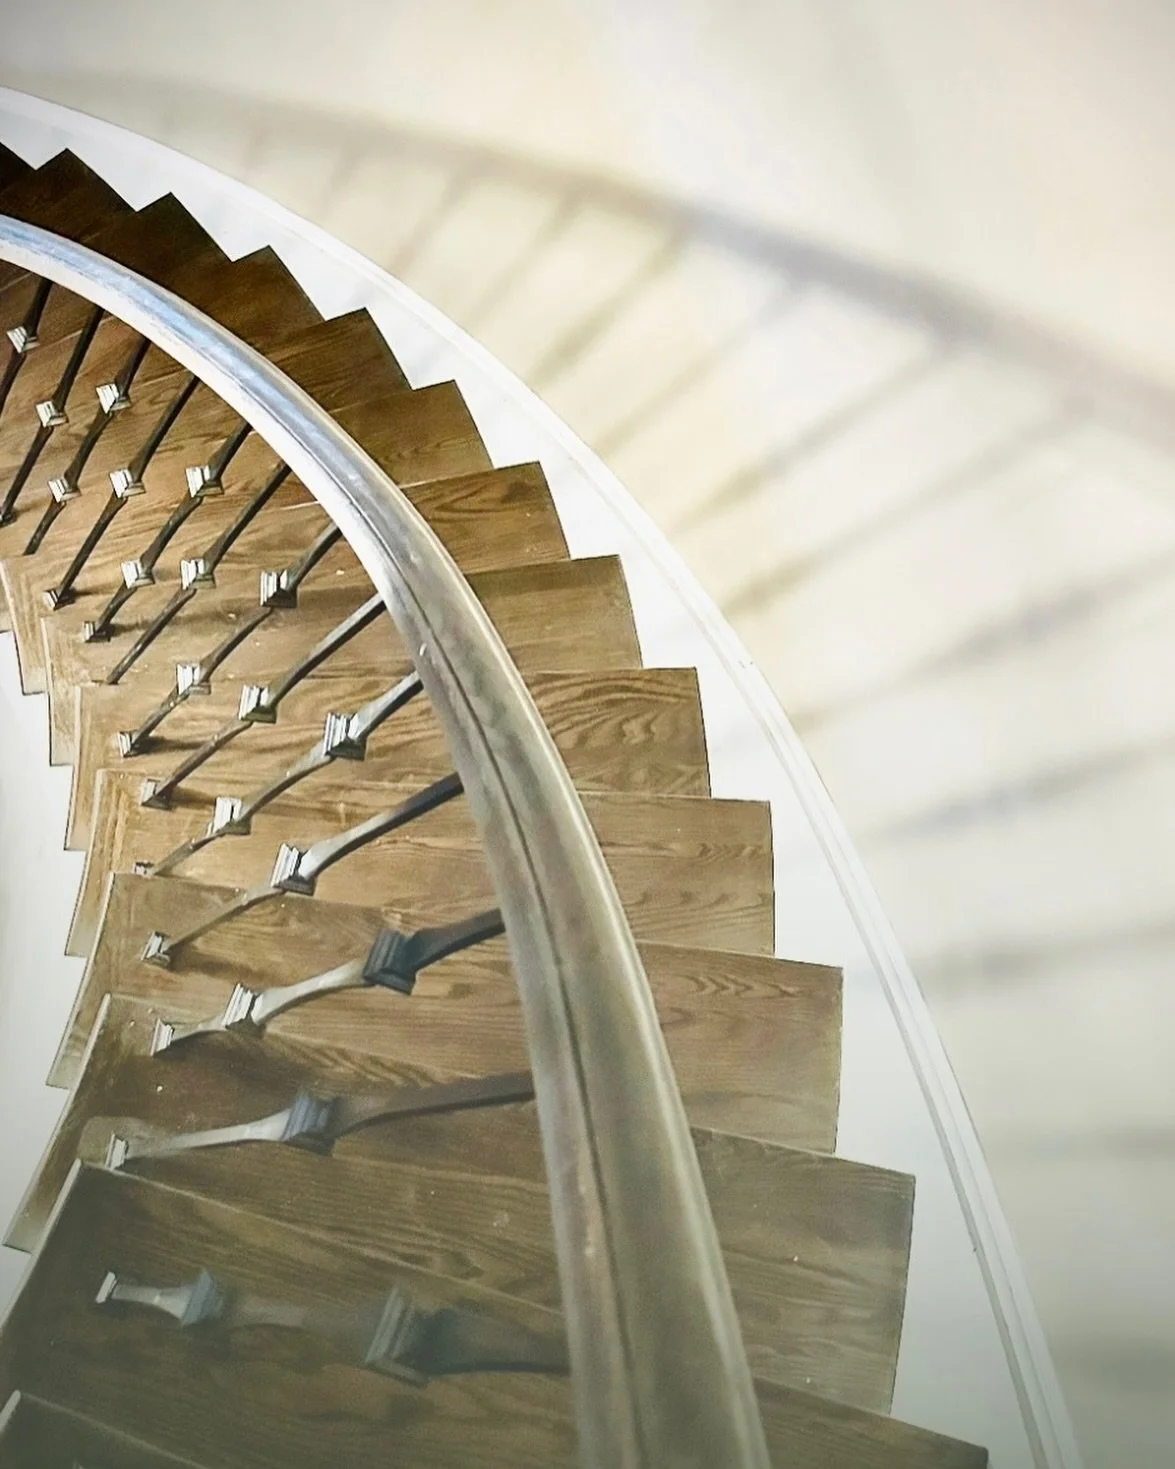
Residential Stairway Staining
Overview
Staining residential stairways transforms worn or plain wood into a durable, attractive focal point. A proper stain enhances grain, evens colour, and protects against daily wear while allowing flexibility in style—from natural, light tones to deep, dramatic finishes.
Benefits
Improved appearance: Highlights wood grain and provides a uniform colour.
Increased durability: Stain plus a protective topcoat resists scuffs, moisture, and foot traffic.
Cost-effective upgrade: Less expensive than replacing treads or full staircase replacement.
Customizable: Wide range of colours and sheens to match existing décor.
Materials and Tools
Wood stain (oil- or water-based)
Pre-stain wood conditioner (for softwoods or unevenly absorbing species)
Sandpaper (80, 120, 180, 220 grits)
Orbital sander and sanding blocks
Rags or foam brushes
Stain brushes or lint-free cloths
Painter’s tape and drop cloths
Respirator or mask, gloves, and safety glasses
Clear topcoat/finish (polyurethane, water-based polyurethane, or varnish)
Tack cloth and vacuum
Preparation
Clean: Remove dust, dirt, grease, and old finishes as needed. Use a vacuum and tack cloth.
Remove or protect components: Take off riser trims, nosing or balusters if possible; otherwise mask adjacent walls, railings and carpet.
Strip old finish: For previously finished stairs, use chemical stripper or sanding to reach bare wood or a uniformly roughened surface.
Sand: Start with coarser grit to remove damage, progress to 120–180 grit for smoothing. Finish with 220 grit for fine surface prior to staining.
Condition: Apply wood conditioner when working with softwoods (pine, fir) or blotchy hardwoods (birch) to promote even stain absorption. Follow manufacturer instructions.
Application
Test colour: Always test stain on a scrap piece or an inconspicuous stair to confirm colour and absorption.
Apply stain: Use a cloth, brush or foam applicator. Work in the direction of the grain, applying a thin, even coat. For darker tones, wipe off excess and reapply after drying as needed.
Drying time: Allow full drying according to product label — water-based stains dry faster; oil-based may require longer cure times.
Sand between coats: Lightly scuff with 220 grit or a fine abrasive pad between stain coats or before the topcoat for adhesion.
Topcoat and Protection
Choose a clear finish suited to stairs: durable, scratch-resistant polyurethane is common; water-based polyurethanes have lower odour and faster cure; oil-based offer warmer tones and slightly more durability.
Apply thin, even coats. Typical schedule: 2–3 coats for adequate protection.
Lightly sand between coats with fine abrasive and remove dust.
Allow sufficient cure time before heavy use—follow product directions; some finishes reach full hardness only after several days to weeks.
Common Challenges and Solutions
Blotchy stain on softwood: Use pre-stain conditioner and test first.
Drips and runs on vertical risers or stair nosing: Apply thinner coats, wipe off excess quickly, and maintain a wet edge.
Dust in finish: Work in a clean, controlled environment; tack cloth surfaces before finishing.
Odour and VOCs: Use low-VOC or water-based products and ventilate well. Consider timing work when occupants can be away.
Maintenance
Routine cleaning: Sweep or vacuum; wipe with a damp cloth and mild cleaner.
Protect high-wear areas: Use stair runners or non-slip treads in heavy-traffic zones.
Repair: Minor scratches can be touched up with matching stain markers or small spot sanding and recoat. Recoat with clear finish when wear becomes noticeable.
When to Hire a Professional
Complex staircase shapes (curved stairs, ornate balusters)
Structural repairs needed or safety concerns
Desire for specialty finishes (glazing, colour washing, multi-tone techniques)
Limited time or lack of tools/experience
Cost Considerations
Material quality and type (water- vs oil-based stains and polyurethanes)
Labour: DIY saves money but requires time and skill; professionals offer speed and consistent results.
Additional work (stripping, repair, replacing treads) increases cost.
Final Tips
Always work on a single stair at a time if possible to maintain consistent drying and colour.
Keep consistent temperature and humidity during application for predictable results.
Label products and keep spare stain for future touch-ups so new repairs match the original finish.
For a clean, long-lasting result, plan thoroughly, test before committing to a colour