
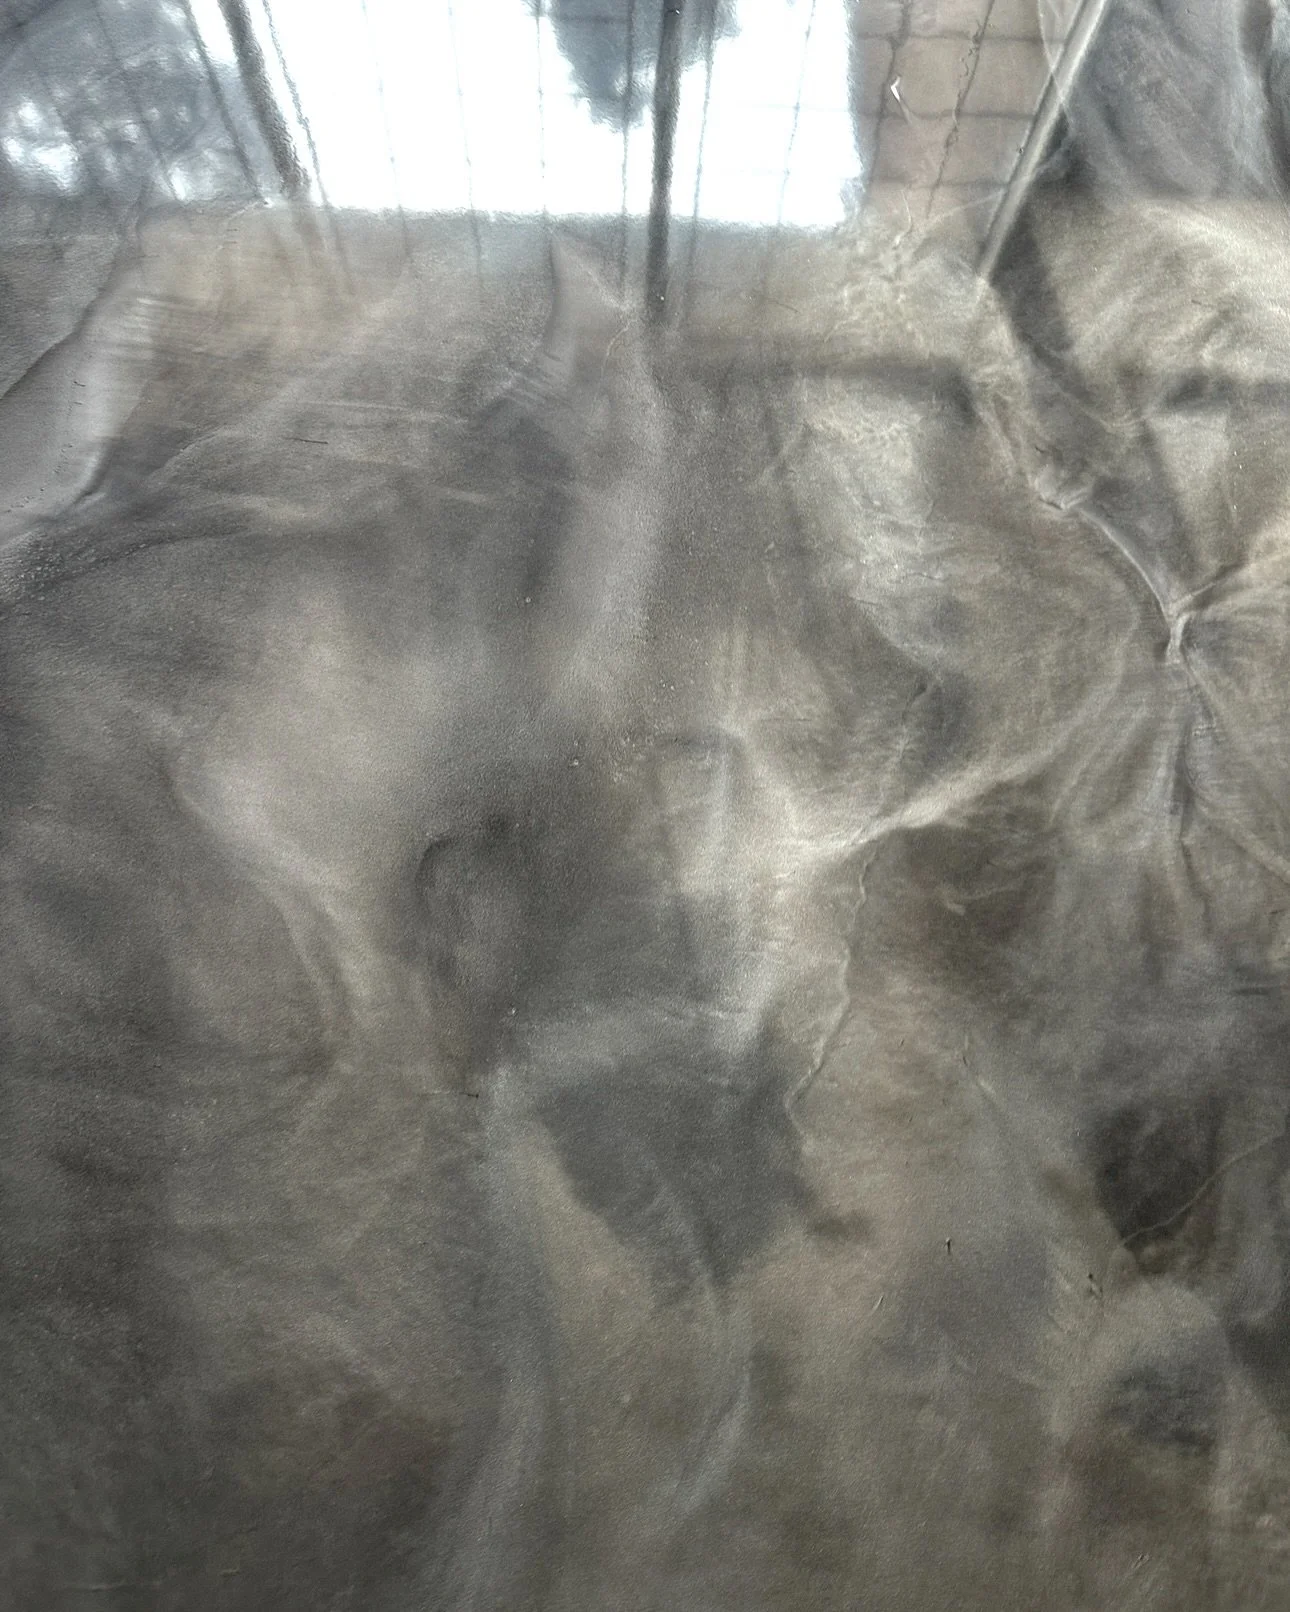
Marbleized Epoxy Flooring
What it is Marbleized epoxy flooring is a decorative, high-performance resin floor finish that mimics the look of natural marble. It’s created by blending coloured epoxy resins and metallic pigments, then manipulating them on the substrate to produce the flowing veins, swirls and depth associated with marble. The system is typically finished with a durable clear topcoat for chemical resistance, UV stability and abrasion protection.
Benefits
Aesthetic flexibility: Available in nearly any colour and pattern, from subtle veins to bold, dramatic swirls that imitate a wide range of natural stones.
Durability: Epoxy systems resist impact, abrasion and heavy foot or wheeled traffic, making them suitable for both residential and commercial spaces.
Seamless, low-maintenance surface: The joint-free finish prevents dirt and bacteria accumulation and is easy to clean with standard floor-care products.
Cost-effective alternative: Achieves a premium marble appearance at a fraction of the cost and installation time of real stone.
Chemical and stain resistance: Properly formulated epoxy resists many household and industrial chemicals, oils and stains.
Fast installation and quick cure options: Many formulations allow rapid return-to-service compared with tile or stone.
Typical applications
Residential: Kitchens, basements, living areas, bathrooms and entryways.
Commercial: Retail stores, showrooms, offices and lobbies where an upscale appearance is desired.
Light-industrial: Warehouses, galleries and labs that need durable, cleanable floors with a high-end aesthetic.
Hospitality: Restaurants, bars and hotel common areas seeking unique visual impact.
Materials and system components
Primer: Ensures adhesion to concrete or other substrates and helps seal porous surfaces.
Base epoxy: A pigmented epoxy layer that provides body and adhesion.
Marbleizing layer: Metallic or pearlescent pigments, coloured resin tints and reactive additives are blended and manipulated (by pouring, blowing, dragging or trowelling) to create veining and depth.
Clear topcoat: Polyurethane or polyaspartic topcoats are common to provide UV stability, abrasion resistance and chemical protection.
Installation overview
Substrate preparation: Proper preparation is critical — concrete must be clean, dry, structurally sound and profiled (shot-blasted, diamond-ground or acid-etched) to achieve mechanical bond. Repair cracks, spalls and joints as needed.
Primer application: Apply a primer to promote adhesion and reduce outgassing or pinholing.
Base coat: Spread the pigmented epoxy base uniformly; this layer acts as the canvas for the marble effect.
Marbleizing technique: While the resin is still workable, apply metallic pigments, tinted resins or reactive dyes. Create veining and swirls using tools (brushes, trowels, rollers, air movers) and by manipulating the resin’s surface tension. Multiple passes can increase depth and complexity.
Level and cure: Allow the marbleized layer to self-level and cure sufficiently before topcoating.
Clear topcoat: Apply one or more clear coats to seal the design and provide the required wear and chemical resistance.
Final cure and inspection: Allow full cure time based on product specs before returning the area to service.
Design considerations
Colour and contrast: High-contrast veins mimic dramatic marble; low-contrast tones create a subtle, contemporary look. Consider lighting and room size when choosing colour intensity.
Pattern scale: Large, sweeping veins suit spacious areas; finer veining works better in smaller rooms.
Slip resistance: Smooth, glossy finishes can be slippery when wet. Add a fine aggregate or anti-slip additive to the topcoat in areas that require traction.
UV exposure: Standard epoxy may yellow over time if exposed to sunlight. Use UV-stable polyaspartic or polyurethane topcoats for exterior or sunlit interior areas.
Repairability: While repairable, matched repairs to intricate marbleized patterns require experienced installers.
Maintenance
Daily/regular: Sweep or dust mop to remove grit and debris that cause abrasion.
Cleaning: Use pH-neutral cleaners and mop; avoid high-alkaline or solvent-based cleaners that can damage the topcoat. Rinse to remove residues.
Stain response: Wipe spills promptly. Epoxy resists most stains, but aggressive solvents or prolonged exposure to chemicals can harm the finish.
Recoating: Over years of heavy wear, a refresh or recoating with a clear topcoat can restore gloss and protection without replacing the entire floor.
Cost factors
Material quality: Metallic pigments, UV-stable topcoats and premium epoxies raise costs but improve longevity and appearance.
Surface preparation: Extensive concrete