
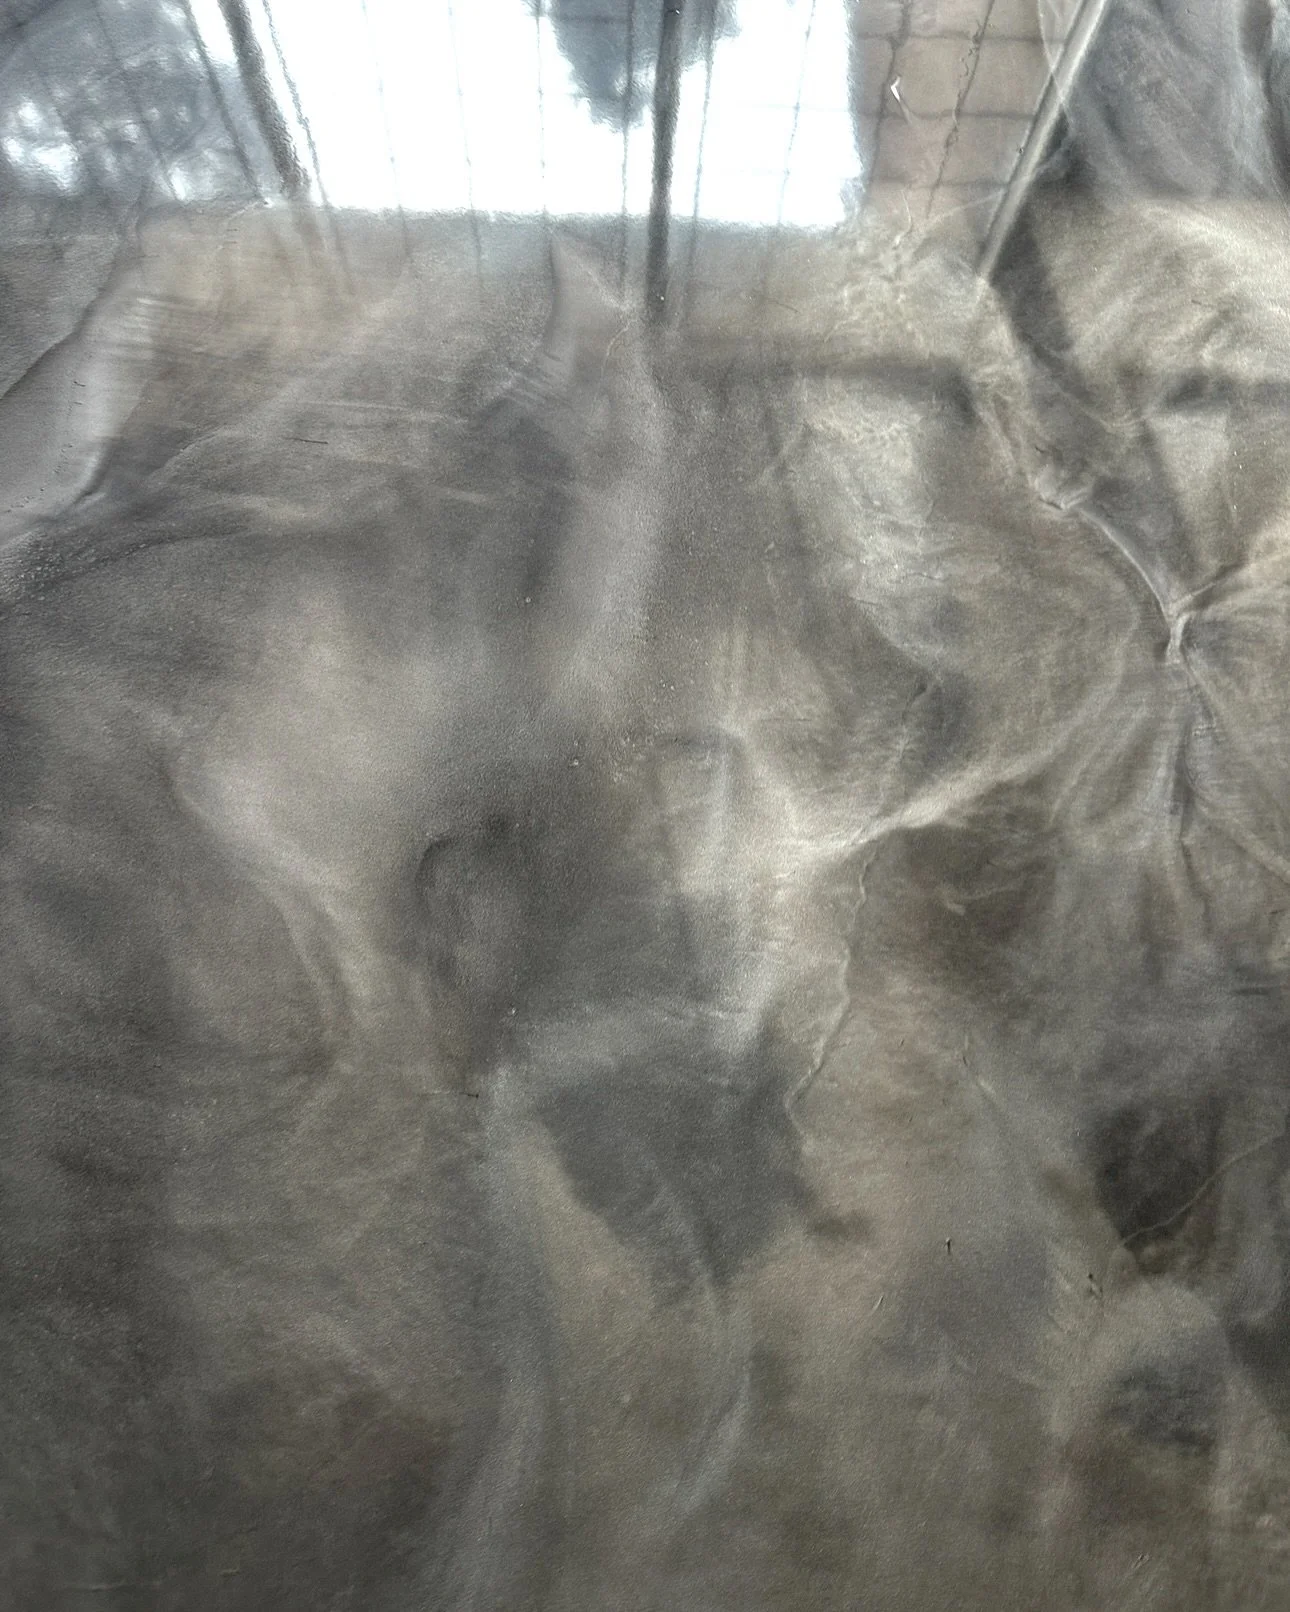
Marbleized Epoxy Floor Painting
Marbleized Epoxy Floor Painting
What it is
Marbleized epoxy floor painting uses pigmented epoxy and metallic or mica additives to create a swirl, veining, or cloud-like finish that mimics natural marble. The system is applied over a prepared concrete substrate and typically includes a base epoxy, coloured or metallic additives, and a clear topcoat for durability and gloss.
Key benefits
Aesthetic: Achieves luxurious marble-like appearance with a wide range of colours and effects.
Durability: Epoxy resists abrasion, stains, chemicals and impact when properly installed.
Low maintenance: Smooth, non‑porous surface is easy to clean and disinfect.
Cost-effective: Less expensive than full marble installation and quicker to install.
Seamless: Continuous, joint-free surface reduces dirt traps and improves hygiene.
Where it’s commonly used
Residential: garages, basements, kitchens, living areas.
Commercial: showrooms, retail stores, restaurants.
Light industrial: offices, lobbies, hospitality spaces with moderate traffic.
Surface preparation
Inspect and repair: Patch cracks, spalls and deep voids with appropriate repair mortar or epoxy fillers.
Mechanical profiling: Diamond grinding or shot blasting to remove coatings, laitance and to achieve a 1–3 mil (25–75 µm) CSP (concrete surface profile) appropriate for epoxy bonding.
Clean thoroughly: Remove dust, oil, grease and contaminants with degreaser and rinse. Ensure surface is dry.
Moisture check: Test for moisture vapor emission and relative humidity within limits specified by the epoxy manufacturer. High moisture requires a vapour mitigation system before epoxy.
Priming: Apply a compatible epoxy primer to improve adhesion and reduce pinholing.
Materials and tools
Two-part epoxy base and hardener (solids content and pot life chosen for site conditions).
Metallic or mica pigments, pearl additives, UVO pigments for colour stability.
Polyurethane or polyaspartic clear topcoat for abrasion and UV resistance where needed.
Mixing containers, drill with mixing paddle.
Squeegees, notched trowels or squeegee blades for spreading base coat.
Brushes, short-nap rollers or spiked
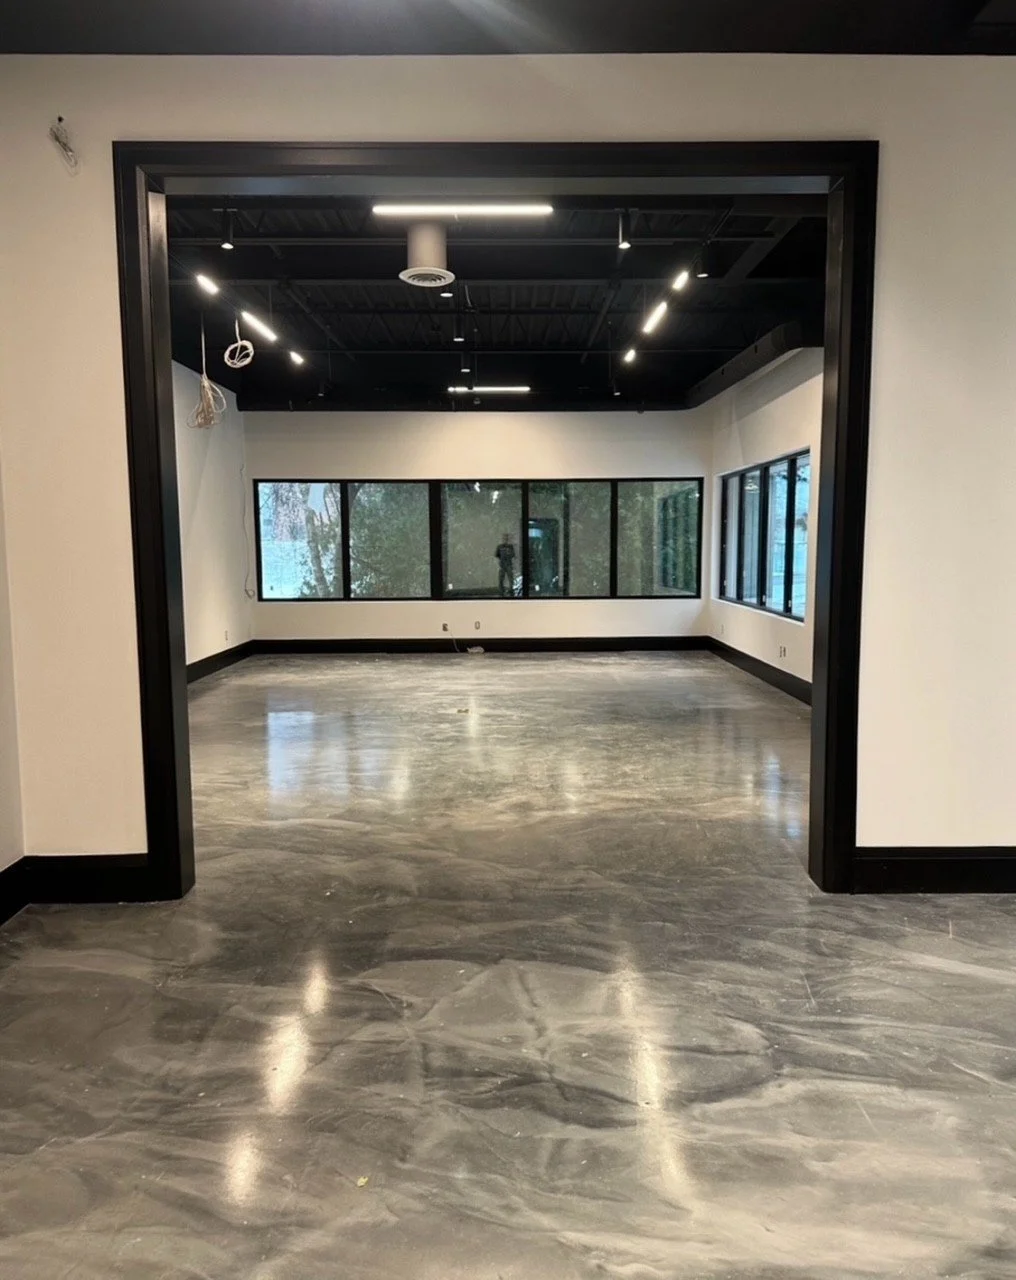
Polished Concrete Epoxy Floor
Marbleized Silver Epoxy Floor Painting
Overview
A marbleized silver epoxy floor combines durability with a high-end, reflective appearance that mimics natural marble. This finish uses metallic pigments suspended in epoxy to create flowing, three-dimensional patterns with silver, grey and pearlescent highlights. It’s suitable for residential garages, basements, showrooms and commercial spaces where both aesthetics and resilience are important.
Benefits
Appearance: Produces a luxurious, polished look with depth and metallic shimmer that changes with light and viewing angle.
Durability: Epoxy provides a hard, impact- and abrasion-resistant surface that stands up to foot traffic, light vehicle traffic and cleaning.
Chemical resistance: Properly formulated and cured epoxy resists many household chemicals, oils and detergents.
Seamless surface: Easy to clean and sanitary because there are no grout lines or joints.
Customizable: Colour intensity, veining patterns and topcoat sheen can be adjusted to match design goals.
Where to use
Residential: Garage floors, basements, entryways, feature rooms.
Commercial: Retail showrooms, boutique stores, offices, hospitality areas.
Light-industrial: Areas with moderate traffic where an attractive, protective floor is desired.
Materials and tools
Two-part epoxy resin and hardener formulated for floor coating.
Metallic epoxy pigments (silver, pearl, pewter) and tinting colours (greys, charcoals).
Primer concrete sealer (if needed) compatible with epoxy.
Polyurethane or polyaspartic clear topcoat (optional for UV resistance and extra abrasion protection).
Concrete patch/filler for repairs.
Diamond grinder or shot blaster for surface preparation.
Acid etch kit (alternative for light prep) or neutralizing solution.
Mixing pails, drill with mixing paddle, disposable stirring sticks.
Notched squeegee, trowel, metal roller, spiked shoes.
Solvent-resistant gloves, goggles, respirator appropriate for VOCs.
Painter’s tape and plastic sheeting for masking.
Preparation
Assess substrate: Ensure concrete is structurally sound, dry and within acceptable moisture limits. Test for moisture vapour transmission (MVT) or perform a calcium chloride test as required.
Repair: Fill cracks and spalls with appropriate concrete filler or epoxy patch. Allow full cure.
Surface profile: Mechanically prepare the surface using a diamond grinder or shot blaster to achieve ICRI CSP 2–3 (light to medium profile). This ensures good epoxy adhesion. Acid etching is a lower-quality alternative but less reliable.
Clean: Remove all dust, oil, grease and contaminants. Use a vacuum and tack cloth; allow surface to dry.
Prime: Apply epoxy primer per manufacturer instructions to improve adhesion and reduce pinholing. Allow to cure to tack-free stage specified by product.
Application process
Mix epoxy base and hardener according to manufacturer’s ratios. Mix thoroughly, scraping sides and bottom, and avoid whipping excess air into the mix.
Apply base coat: Use a notched squeegee or roller to apply a thin, even base layer (often a light grey or neutral tone). Work in manageable sections to maintain a wet edge. Back-roll with a roller to remove lines.
Create marble effect: While the base coat is still wet (work within pot life and tack window), broadcast or drop metallic pigments and colours. Techniques include:
Pouring circular pools of metallic pigment and using a brush, trowel or roller to swirl and feather into marbling patterns.
Spraying or flicking pigment with a chip brush for veining.
Back-brushing and dragging a notched trowel lightly to form soft, layered veins.
Using a heat gun or propane torch at a distance to level and help pigments flow—use caution to avoid overheating.
Blend and refine: Step back frequently to evaluate pattern and consistency. Add more pigment for depth or soften areas with a clean roller. Avoid overworking, which can muddy colours.
Allow to flash off: Let the decorative layer partially cure per product specifications until sufficiently tack-free to accept a clear topcoat (timing varies by product and temperature).
Clear topcoat: Apply one or two coats of a clear polyurethane, polyaspartic or epoxy topcoat for chemical resistance, UV stability and desired sheen. Use a roller for even coverage and back-roll to remove bubbles. Maintain recommended recoat windows to ensure proper intercoat adhesion.
Finishing options and sheen
High gloss: Maximizes metallic shimmer and depth—common choice for marbleized finishes.
Satin: Slightly less reflective