
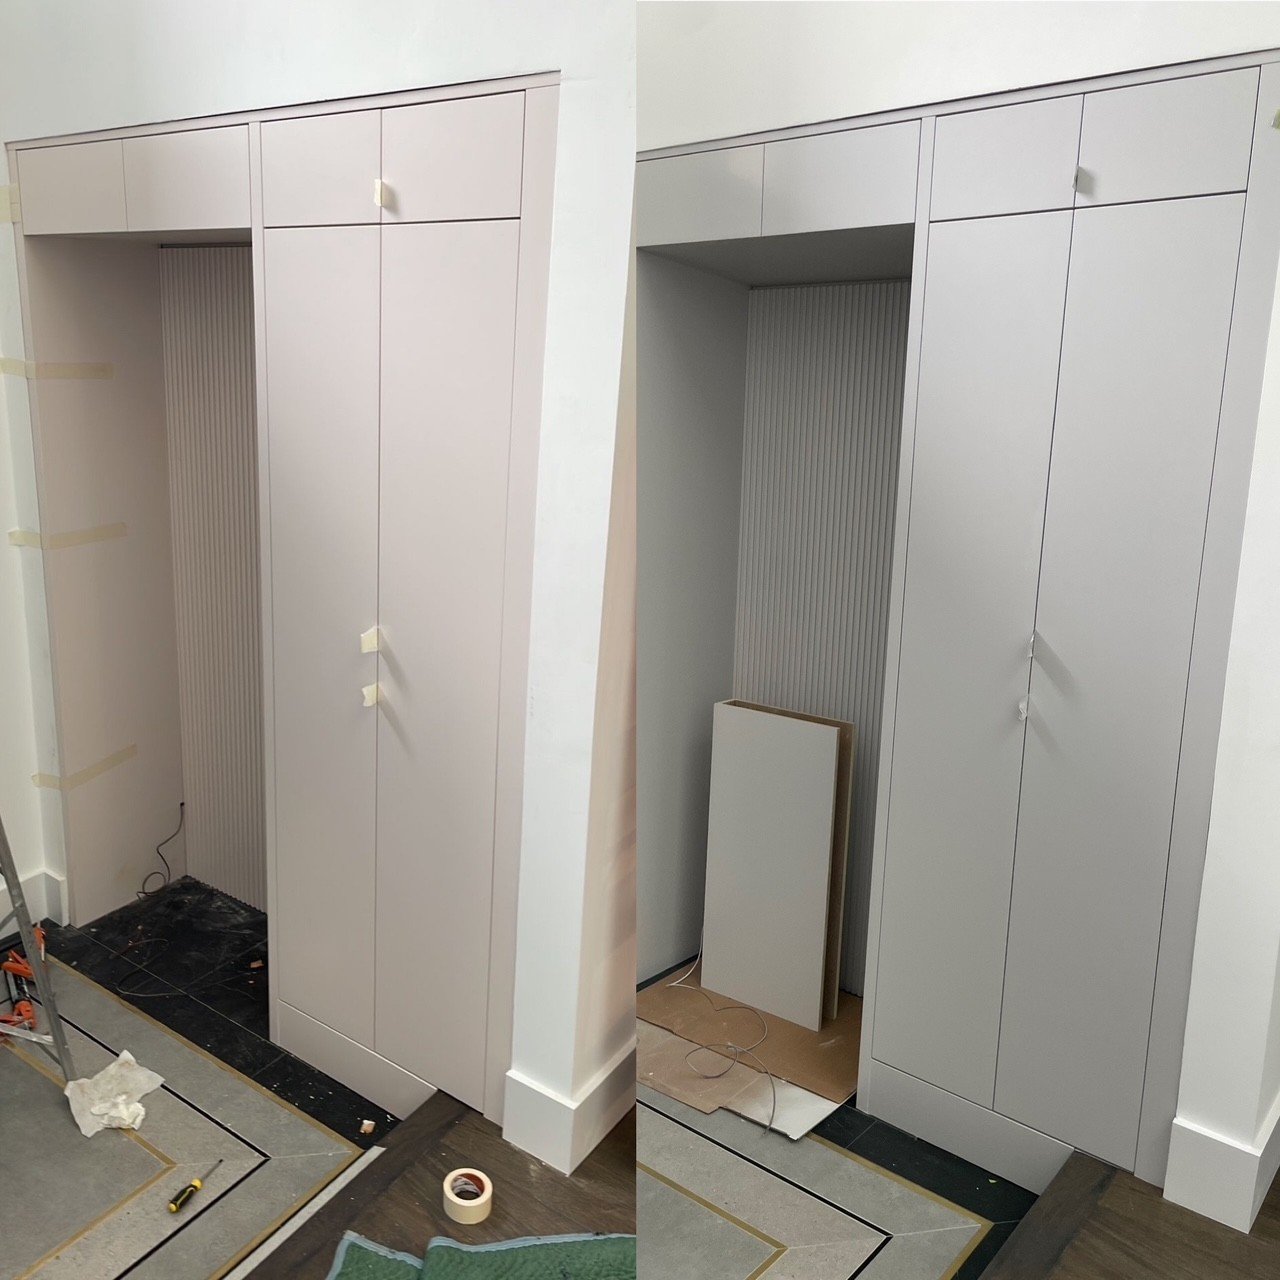
Closets Before / After
Closet Painting Before and After
Before
Walls and trim show wear: scuffed paint, marks, and faded colour from years of use.
Uneven sheen and yellowing on white or off‑white surfaces, especially in closets used for seasonal storage.
Stains from moisture or accidental spills, particularly on lower walls and baseboards.
Interior looks darker and smaller due to dated, deep colours or dirty surfaces.
Paint failure visible at high‑traffic areas: peeling around door frames, chipping on shelves and closet doors.
Inconsistent finishes: shiny patchy trim beside matte walls or mismatched colours from touch‑ups.
Hardware and shelving appear dated and blend with wall colour, making the space feel cluttered and less organised.
After
Fresh, uniform colour brightens the interior and makes the closet feel larger and cleaner.
Clean, even finish on walls and trim eliminates visible scuffs, stains and yellowing.
Updated colour choices improve functionality: light neutrals increase visibility for clothing, while mid‑tone greys and muted hues create a modern backdrop that hides minor wear.
Trim, shelving and door frames repainted to match or complement walls, giving a cohesive, finished look.
Smooth, durable coatings resist future scuffs and are easier to wipe clean.
Hardware and shelving appear revitalised; repainting can visually modernize existing fixtures without full replacement.
Better lighting interaction: new paint reflects light more effectively, improving how colours and textures of clothing appear.
Colour and Finish Tips
Use a light, warm neutral (soft white, warm beige, pale greige) to maximise perceived space and reflect light.
For deeper character, choose a muted mid‑tone (dusty blue, sage, soft charcoal) on the back wall while keeping sides light to add depth without darkening the whole closet.
Semi‑gloss or satin finish for trim and shelving improves durability and cleanability; use an eggshell or matte for large wall areas to minimise glare.
Opt for washable, stain‑resistant formulations in high‑use closets.
Consider a mould‑ and mildew‑resistant paint for closets in basements or near damp areas.
Preparation Checklist
Empty the closet completely; remove shelves and hardware where possible.
Clean walls with a mild detergent to remove dust, grease and mildew.
Repair holes, dents and peeling paint with spackle and sand smooth.
Mask edges and protect floors with drop cloths and painter’s tape.
Prime stained or patched areas and new drywall for an even topcoat.
Step‑by‑Step Process
Remove contents, shelving and hardware.
Clean surfaces thoroughly and let dry.
Patch imperfections and sand for a smooth surface.
Apply primer to bare drywall, repairs and stained zones.
Paint trim and shelving first; allow to dry.
Paint walls with a roller for even coverage; cut in with a brush.
Apply a second coat if necessary for full coverage.
Reinstall hardware and shelves; replace worn lighting or add LED strips for improved visibility.
Before-and-After Visual Indicators to Look For
Before: dingy corners, visible patchwork and uneven colour. After: uniform colour, smooth texture and bright corners.
Before: dark, cramped appearance. After: increased perceived space and clarity of clothing colours.
Before: mismatched trim sheen. After: consistent finish with durable trim shine.
Before: visible dirt and wear on shelving. After: refreshed shelving that looks near‑new.
Maintenance Advice
Wipe painted surfaces regularly with a damp cloth to prevent buildup.
Touch up scuffs promptly with a small amount of matched paint.
Use shelf liners to reduce direct wear on painted shelving.
Keep closet well ventilated to reduce moisture and paint deterioration.
Estimated Time and Cost Considerations
Small reach‑in closet: 1 day (prep and two coats) — materials only: low to moderate cost.
Walk‑in closet: 1–2 days depending on shelving removal and repairs — higher material and potential labour costs.
Additional costs: primer for stained areas, mould‑resistant paint for damp spaces, and optional new lighting or shelving hardware.
Final Note A fresh coat of paint is one of the most cost‑effective ways to transform a closet. Proper preparation and the right colour/finish choices deliver a durable, bright, and more functional storage space with a noticeable before‑and‑after improvement.