
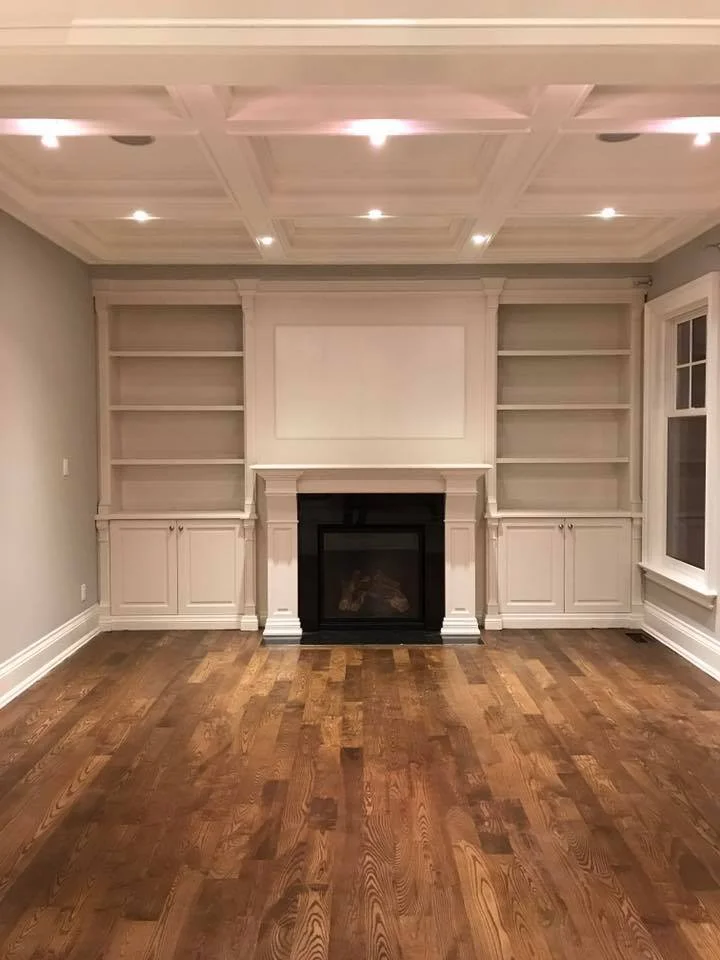
Living Room Painting
Choosing the right paint and executing a successful living room paint job can transform the space’s mood, perceived size and value. This guide covers planning, colour selection, preparation, painting techniques and finishing touches to help you achieve a professional result.
Plan and set goals
Define purpose: modernise, brighten, create warmth, add drama or improve resale value.
Assess natural light: north-facing rooms need warmer or lighter tones; south- and west-facing rooms can handle cooler or deeper colours.
Consider existing elements: flooring, furniture, artwork, and trim will affect colour harmony.
Decide finish: matte or eggshell for hiding imperfections; satin for durability and easy cleaning; semi-gloss for trim and high-contact areas.
Choose the right colours
Neutral base: off-white, warm beige, greige or light grey provide flexibility and resale appeal.
Accent walls: use a deeper or more saturated tone to create focal points — behind a fireplace, TV wall, or seating area.
Colour psychology: blues and greens feel calming; warm hues (soft yellows, terracotta) feel cozy; dark colours add drama and intimacy.
Sample first: test 2–3 paint swatches on different walls, observe at various times of day and under artificial light.
Undertones matter: compare paint chips in the room; what looks white in a store may read blue or pink at home.
Estimate quantities and budget
Measure wall area: (width × height) for each wall, subtract doors and windows. One litre typically covers 8–12 m² depending on paint and surface.
Allow for two coats and touch-ups. Buy a little extra for future repairs; write down paint brand, colour name and batch number.
Decide between DIY and professional painters based on complexity, time, and finish quality required.
Preparation
Clear and protect: remove furniture or move to centre and cover with drop cloths. Protect floors, trim and fixtures with painter’s tape and plastic sheeting.
Repair surfaces: fill holes and cracks with spackling compound, sand smooth, and prime patched areas.
Clean walls: dust and wash to remove grease and fingerprints using mild detergent or TSP substitute; rinse and let dry.
Prime if needed: bare drywall, stained surfaces, drastic colour changes or glossy surfaces benefit from a primer to promote adhesion and even coverage.
Tools and materials
Quality brushes: angled sash brush (2–2.5 in) for trim and cutting-in.
Roller and nap: 10–15 mm nap for smooth to lightly textured walls; larger nap for rougher surfaces.
Paint tray, roller frame, extension pole, painter’s tape, drop cloths, spackle, sandpaper, and a step ladder.
High-quality paint: better paints often provide truer colour, improved coverage and durability.
Painting technique
Cut in first: paint around trim, ceiling lines, corners and outlets with a brush before rolling.
Roll in “W” or “M” patterns: load roller evenly, apply paint in a W or M motion and fill in without lifting the roller to avoid lap marks.
Maintain a wet edge: work in manageable sections and blend new paint into the wet edge to prevent visible overlaps.
Two coats: allow recommended drying time between coats; the first coat may look uneven but the second evens it out.
Trim and ceiling: paint ceilings before walls if practical. Paint trim last with a semi-gloss or satin finish for durability.
Common challenges and fixes
Lap marks: caused by uneven drying or overworking; maintain a wet edge and use consistent pressure.
Flashing or colour variation: prime problem areas, use the same batch of paint, and stir paint regularly.
Paint drips and runs: catch runs quickly with a brush or roller; sand lightly and touch up after drying.
Texture mismatch: if patched areas look different, lightly sand and prime before topcoating.
Finishing touches
Remove painter’s tape carefully after paint is tacky but not fully dry to avoid peeling.
Reinstall outlet covers and switch plates, and clean up spills and splatters immediately.
Ventilate the room to speed drying and reduce odour; allow full cure time before heavy use or moving furniture against walls (usually 1–2 weeks for full hardness).
Maintenance and longevity
Wash walls gently with a soft cloth and mild detergent for marks; avoid abrasives.
Keep a small sample of each paint for future touch-ups; label with paint name, sheen and batch number.
Repaint frequency: every 5–7 years for high-traffic living rooms, longer for well-protected or lightly used spaces.
Quick checklist before you start
Measure and calculate