
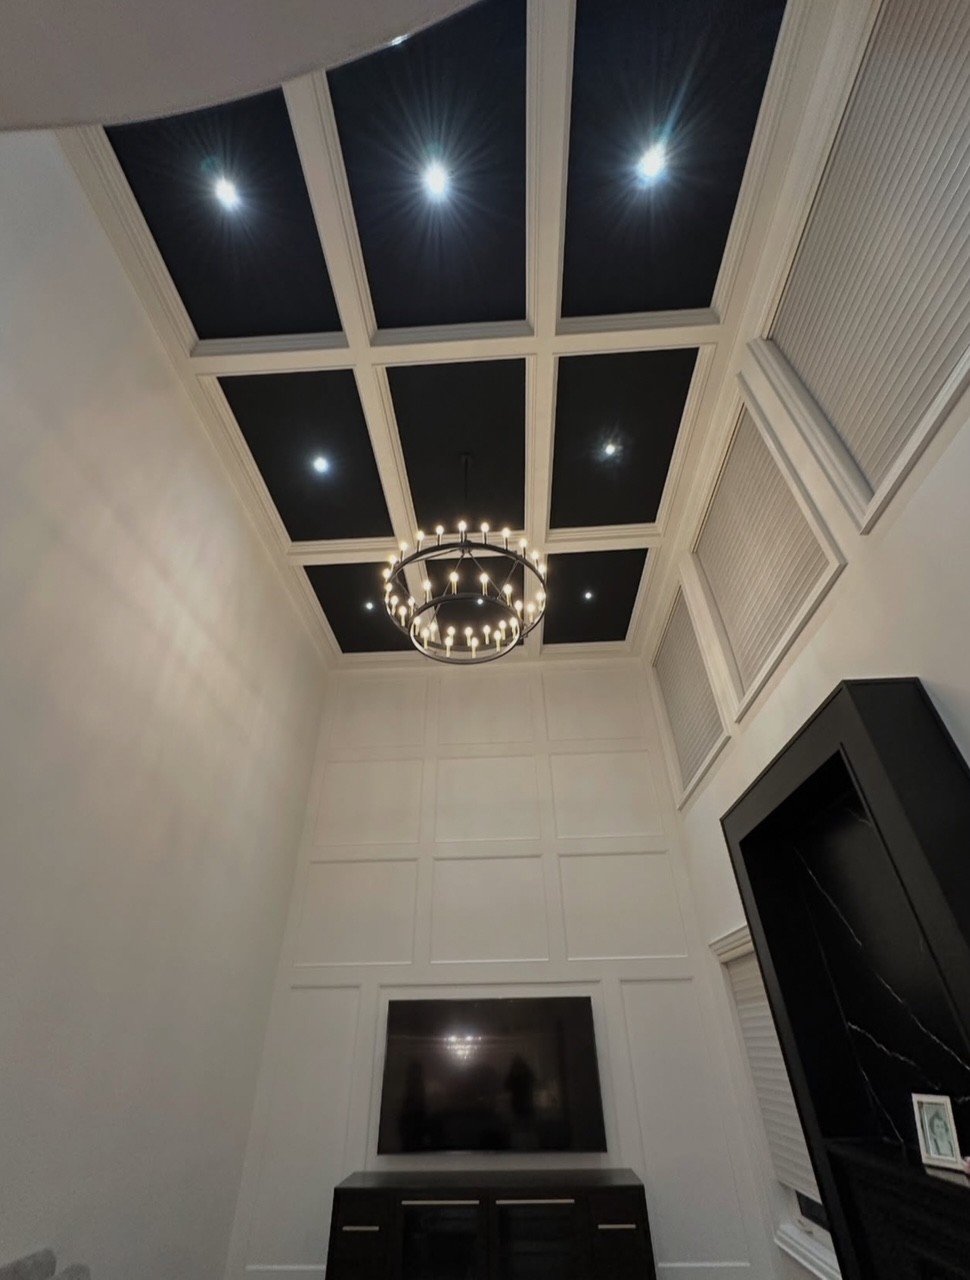
High Ceiling Painting
High ceilings create a striking sense of space and light, but painting them requires extra planning, skill and safety measures. Whether you’re refreshing a living room, finishing a loft or updating a commercial space, the right approach ensures a smooth, even finish and protects your home and furnishings.
Why treat high ceilings differently
Reach and access: Standard ladders often aren’t tall enough or safe for extended work. Scaffolding or specialized lifts provide safer, steadier access for large areas.
Surface size and texture: High ceilings usually mean larger surface areas and sometimes unique textures (popcorn, knockout, venetian plaster). These affect how much paint, primer and labour you’ll need.
Light and finish: Light sources and natural daylight accentuate imperfections on tall surfaces. Proper prep and consistent application reduce visible streaks and roller marks.
Safety and efficiency: Moving furniture, protecting floors and working at height require more time and caution than painting standard ceilings or walls.
Preparation checklist
Inspect the ceiling: Look for cracks, water stains, mould, peeling paint or damaged drywall. Address structural or moisture issues before painting.
Clean thoroughly: Dust, cobwebs and grease need removal. Use a long-handled duster, vacuum with an extension or gentle trisodium phosphate (TSP) solution for stubborn grime.
Repair and prime: Patch cracks and holes with joint compound or patching compound. Sand smooth once cured. Use a stain-blocking primer where there are water marks or tannin bleed-through.
Protect the space: Move or cover furniture, cover floors with drop cloths, and mask light fixtures, vents and trim. Secure plastic sheeting to walls and windows to catch overspray or drips.
Choose tools and equipment: For ceilings over 10 ft, consider rolling from scaffolding or using adjustable mast climbers. Airless sprayers are efficient for very high or textured ceilings but require careful masking.
Paint and finish considerations
Paint type: Use a high-quality interior ceiling paint or a flat/matte finish to minimise glare. For kitchens, bathrooms or humid climates, select a paint with mould and mildew resistance.
Sheen: Flat or matte finishes are common for ceilings because they hide imperfections. Eggshell or low-sheen finishes can be used on vaulted ceilings where a slight reflection is acceptable.
Colour: White and off-white are popular to enhance brightness. Subtle warm or cool tints can affect perceived height—lighter colours make ceilings feel higher; darker colours visually lower them.
Coverage: High ceilings mean larger surface area; calculate paint quantity carefully and allow extra for textured surfaces. Use a primer when changing from dark to light colours or when painting new drywall.
Application techniques
Work in sections: Divide the ceiling into manageable areas to maintain a wet edge and prevent lap marks.
Cutting in: Start by cutting in along walls and fixtures with an angled brush while on secure scaffolding.
Rolling: Use a high-quality roller cover appropriate to the texture (short nap for smooth, longer nap for textured). Roll in a consistent pattern (W or M technique) to ensure even coverage.
Spraying: Airless sprayers provide speed and even coverage for very high or irregular surfaces but require skill to avoid runs and overspray. Practice on scrap material first.
Multiple coats: Two coats are usually recommended for uniform coverage, especially when transitioning from primer to topcoat or changing colour significantly.
Safety tips
Use scaffolding or mobile platforms for stability; avoid overreaching from ladders.
Ensure proper ventilation when using primers or paints with strong odours.
Wear eye protection, gloves and a dust mask when sanding or cleaning.
If using sprayers, protect adjacent areas and be mindful of airborne particles.
When to hire professionals Consider hiring experienced painters when:
Ceilings exceed typical ladder reach or are in poor condition.
There’s extensive repair, mould remediation or stain-blocking required.
The project involves complex finishes, specialty paints or spray application.
You want guaranteed results, efficient completion and minimal disruption.
Estimated time and cost factors Time and cost vary by ceiling height, surface area, texture, condition and access. Typical residential jobs for standard high ceilings may take 1–3 days including prep and two coats; vaulted or very high ceilings can take longer. Costs increase with scaffolding rental, specialised equipment, extensive repairs or spray application.
Final inspection and touch-ups After paint has cured, inspect for missed spots, roller stipple or uneven sheen. Make any necessary touch-ups. Clean equipment and remove protective coverings carefully to avoid transferring paint to floors or furniture.
High-ceiling painting enhances architectural character but requires more planning and care than standard projects. When done correctly, it provides a flawless finish that complements your space and stands the test of time.