
Interior Home Staining
S
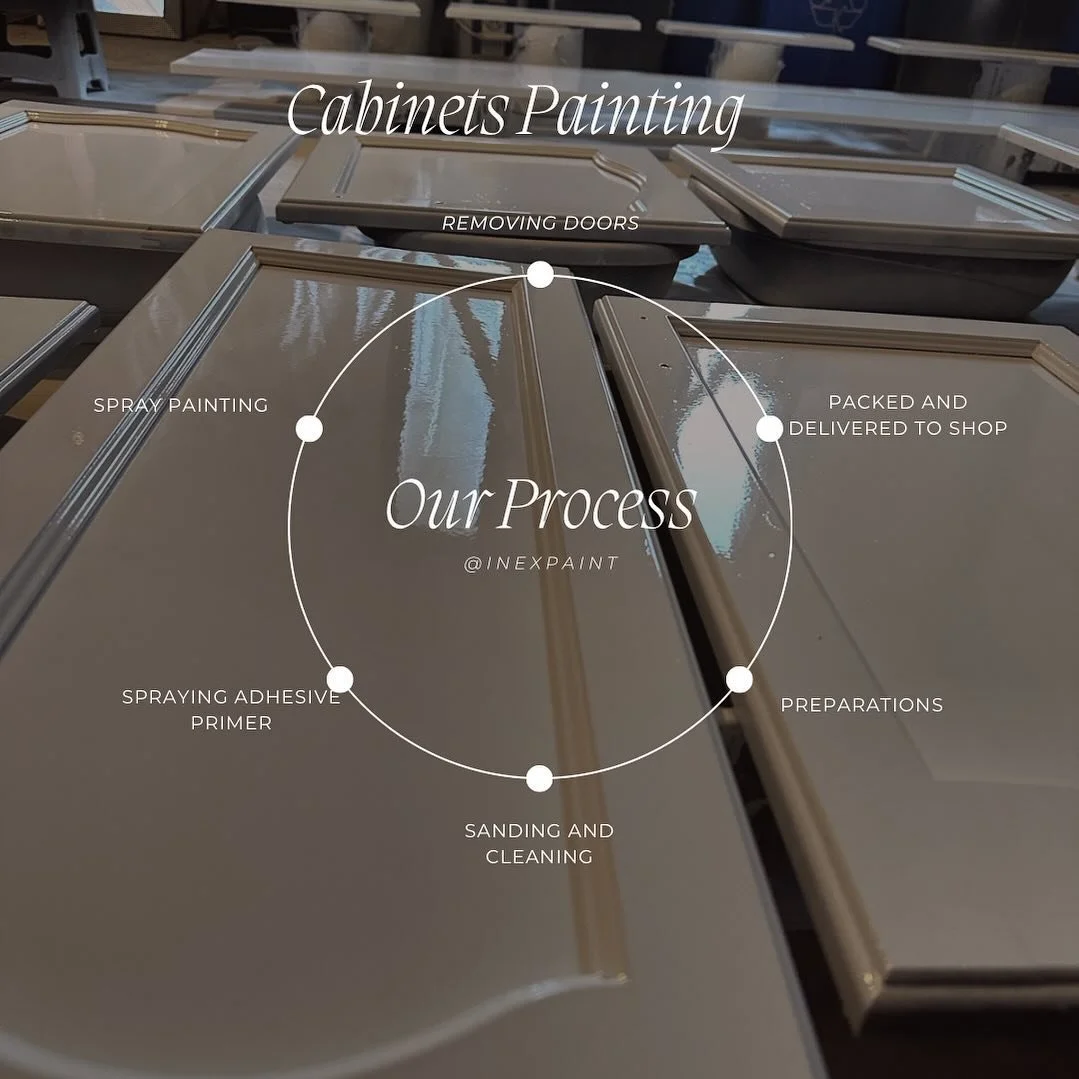
Spray Painting Process
Overview Spray painting is a fast, efficient method to apply paint or coatings to surfaces using pressurised air or airless equipment to atomize and distribute the material. It’s widely used in automotive, industrial, commercial and residential applications. A successful spray painting job requires proper surface preparation, the right equipment and settings, correct technique, and careful finishing.
Materials and equipment
Paint or coating suitable for the substrate (acrylic enamel, polyurethane, lacquer, epoxy, waterborne or solvent-borne finishes).
Primer and, if required, sealer or filler.
Spray gun or spray system:
HVLP (high-volume, low-pressure) for fine finish and reduced overspray.
LVLP for low-pressure, high-transfer efficiency.
Conventional (compressed air) for fast application and traditional finishes.
Airless or air-assisted airless for heavy coatings and large surfaces.
Compressor (if using compressed-air guns) sized to deliver required CFM at operating pressure.
Hoses, regulators, filters and moisture traps.
Nozzles/tips matched to material viscosity and desired film thickness.
Mixing cups, strainers, thinning solvents
Spray Painting Process
Overview Spray painting is a fast, efficient method to apply paint or coatings to surfaces using pressurised air or airless equipment to atomize and distribute the material. It’s widely used in automotive, industrial, commercial and residential applications. A successful spray painting job requires proper surface preparation, the right equipment and settings, correct technique, and careful finishing.
Materials and equipment
Paint or coating suitable for the substrate (acrylic enamel, polyurethane, lacquer, epoxy, waterborne or solvent-borne finishes).
Primer and, if required, sealer or filler.
Spray gun or spray system:
HVLP (high-volume, low-pressure) for fine finish and reduced overspray.
LVLP for low-pressure, high-transfer efficiency.
Conventional (compressed air) for fast application and traditional finishes.
Airless or air-assisted airless for heavy coatings and large surfaces.
Compressor (if using compressed-air guns) sized to deliver required CFM at operating pressure.
Hoses, regulators, filters and moisture traps.
Nozzles/tips matched to material viscosity and desired film thickness.
Mixing cups, strainers, thinning solvents and measuring tools.
Personal protective equipment: respirator with appropriate cartridges, eye protection, gloves, coveralls, hearing protection.
Masking tape, paper, plastic sheeting and drop cloths.
Sandpaper, sanding blocks, abrasive pads and abrasive discs.
Clean rags, tack cloths and surface cleaners/degreasers.
Spray booth or well-ventilated area with appropriate fire prevention measures.
Steps in the spray painting process
Planning and safety
Confirm the substrate, coating type and end-use requirements (durability, gloss, chemical resistance).
Review material safety data sheets (MSDS) and ensure suitable ventilation and fire controls.
Select appropriate PPE and ensure training in spray equipment and handling of solvents.
Surface inspection and repair
Inspect the surface for rust, corrosion, cracks, dents, gouges, or old coatings that may fail adhesion.
Remove loose paint, rust and contaminants by scraping, wire brushing, sanding or media blasting as required.
Repair dents, gouges and holes with suitable fillers; allow proper cure time and sand to shape.
Cleaning and degreasing
Remove dust, oils, waxes and other contaminants using an appropriate solvent or cleaner.
Rinse if required by the cleaner and allow the surface to dry completely.
Wipe with a tack cloth to remove fine dust before priming or painting.
Masking and protection
Mask off areas not to be painted using tape, paper or plastic sheeting.
Cover surrounding surfaces and protect fixtures, handles and trim.
Ensure edges are sealed to avoid bleed-through and that masked surfaces are free of debris.
Priming
Select a primer compatible with the substrate and topcoat (rust-inhibiting primer for metal, adhesion-promoting primer for plastics, wood primer for porous timber).
Mix and strain the primer according to manufacturer instructions; thin only as recommended.
Apply primer evenly using proper gun settings and technique; multiple light coats are better than one heavy coat.
Allow recommended flash-off and cure times, then sand primer lightly to remove imperfections and promote adhesion.
Mixing and thinning topcoat
Mix topcoat components (base, hardener, reducer) in the correct ratio if using multi-component systems.
Strain mixed paint through a fine strainer to remove skin or debris.
Adjust viscosity with reducer as needed for the chosen spray equipment and ambient conditions; check with a viscosity cup or follow manufacturer guidelines.
Spray gun setup and test
Fit the correct tip/nozzle and set fluid, air and pattern controls.
Adjust pressure and pattern width for the material and surface geometry.
Perform test sprays on a card or scrap panel to fine-tune atomization, flow and overlap. Look for even coverage, absence of runs, sags or excessive orange peel.
Application technique
Maintain a consistent gun-to-surface distance (generally 6–12 inches for conventional guns; follow equipment guidance).
Hold the gun perpendicular to the surface and move in smooth, even passes.
Overlap each pass by about 50% to ensure uniform coverage.
Apply multiple thin coats rather than one heavy coat to reduce sagging, runs and solvent entrapment.
For edges, use edge techniques (feathering, tipping) to avoid buildup.
Monitor flash-off between coats as recommended; environmental factors like temperature and humidity affect drying times.