
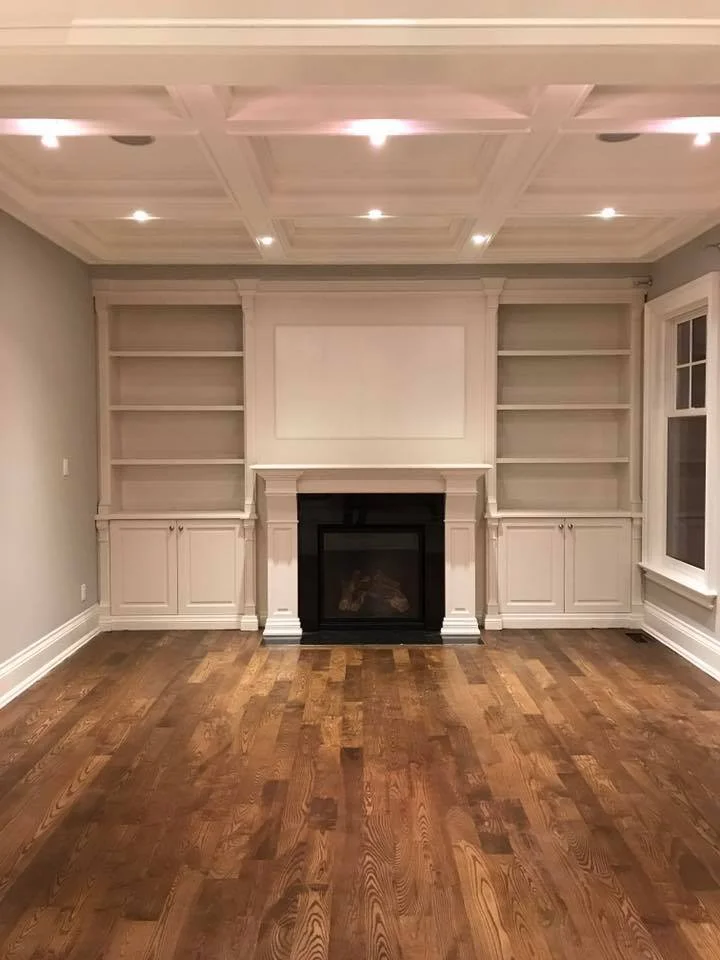
Before / After Industrial Painting
Living Room Painting
Choosing the right paint and application technique for your living room can transform the space’s mood, perceived size, and functionality. Below is a concise guide covering colour selection, finishes, preparation, painting tips, and maintenance tailored to Canadian homes and climates.
Define your goal
Refresh: Choose a durable, mid-range paint in a neutral tone for an easy update.
Re-style: Use accent walls, two-tone treatments, or feature colours to create focal points.
Brighten or enlarge: Light, warm neutrals and cool whites reflect light and make rooms feel larger.
Cozy or intimate: Deeper, warmer colours add depth and warmth, especially in larger or well-lit living rooms.
Colour selection
Neutrals: Beiges, greys, taupes and greiges are versatile and work with many furnishings.
Warm vs cool: Warm paint (creams, warm greys, soft beiges) complements wood tones and creates a cozy feel. Cool paint (blue-greys, soft whites) feels modern and airy.
Undertones: Test samples on multiple walls; natural and evening light reveal undertones differently.
Accent walls: Use one stronger colour on a single wall behind a sofa, fireplace, or TV to create emphasis without overwhelming the room.
Consider flooring and trim: Match or contrast with baseboards, ceiling, and flooring for a cohesive look.
Paint finish selection
Matte (flat): Hides surface imperfections, offers a smooth look; less washable — good for low-traffic living rooms.
Eggshell / Low sheen: Slight sheen, more washable and easy to clean — a common choice for living rooms.
Satin: Durable and easier to clean; good for high-traffic areas or homes with children and pets.
Semi-gloss / Gloss: Best for trim, mouldings, doors, and areas needing frequent cleaning; too reflective for whole walls in most living rooms.
Preparation
Clean walls: Remove dust, fingerprints, and grease with mild detergent; rinse and let dry.
Repair: Fill holes/cracks with spackling compound; sand smooth.
Prime: Use a primer when changing from dark to light colours, painting over stains, or when walls are patched. Primer ensures even colour and better adhesion.
Protect: Tape trim, cover floors and furniture with drop cloths or plastic sheeting; remove switch plates and outlet covers.
Consider humidity and temperature: Ideal painting conditions are typically between 10–25°C and low humidity for proper drying in Canadian climates.
Painting technique
Tools: Good-quality roller and brushes reduce streaking. Use extension poles for ceilings and high areas.
Cut in first: Paint edges, corners and trim lines with a brush before rolling large wall areas.
Roll consistently: Use a “W” or “M” pattern to evenly distribute paint; maintain a wet edge to avoid lap marks.
Multiple coats: Allow recommended drying time between coats. Two coats are standard for most colours; darker or saturated colours may require more.
Trim and ceiling: Paint ceilings first (if changing), then walls, then trim for neatest results.
Accent options and treatments
Feature wall: Use wallpaper, textured paint, wood panelling, or a bolder paint colour for contrast.
Two-tone walls: Paint the lower portion in a darker shade with a chair rail or use colour blocking for modern effect.
Faux finishes: Venetian plaster or limewash offer subtle texture for an upscale look.
Colour continuity: Use consistent undertones in adjacent rooms for a smooth transition in open-plan living spaces.
Eco and health considerations
Low-VOC / zero-VOC paints: Reduce odour and indoor air pollution, important for homes with young children, pets, or sensitive occupants.
Proper ventilation: Open windows and use fans while painting and during drying to speed off-gassing.
Maintenance and care
Touch-ups: Keep leftover paint for small repairs and touch-ups.
Cleaning: Wipe walls with a soft cloth and mild detergent; avoid abrasive cleaners that strip the finish.
Repaint cycle: Living rooms typically need repainting every 7–10 years depending on wear and style changes.
Hiring a professional
When to hire: Large rooms, high ceilings, complex finishes, or when you need fast, high-quality results.
Get multiple quotes: Compare scope, paint quality, prep work, and warranties.
Ask for references and examples of previous living-room projects.
Quick checklist before you start
Measure walls to estimate paint quantity.
Select finish and colour samples; test patches on walls.
Gather supplies: primer, paint, rollers, brushes, trays, drop cloths, sandpaper, filler, painter’s tape.
Plan timing: Allow for drying between coats
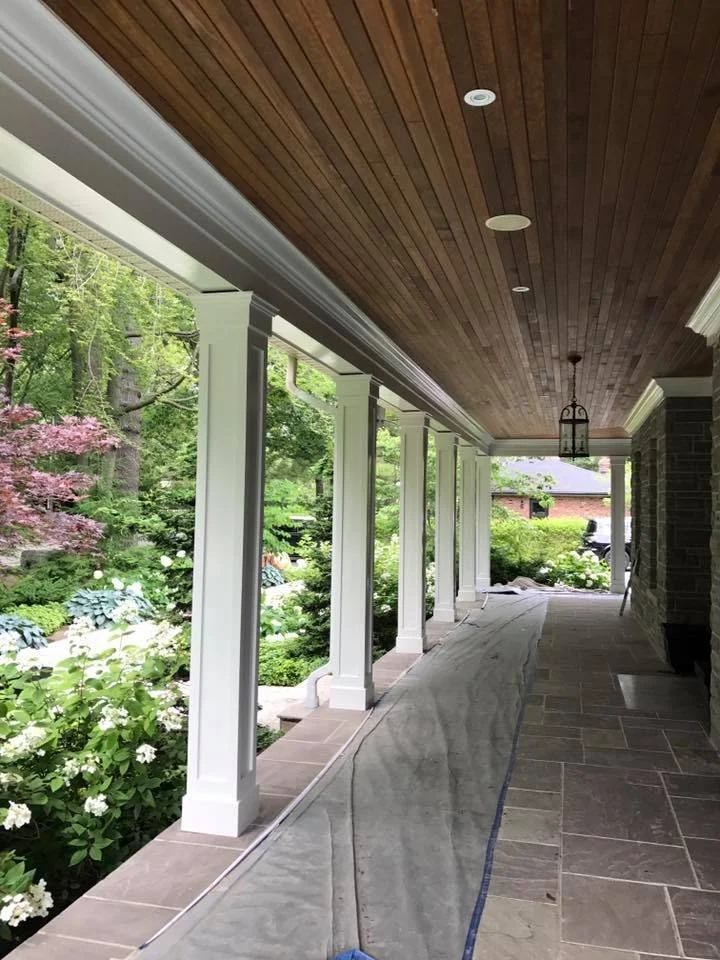
Exterior Painting & Wood Stain
Exterior Painting and Staining
Selecting the right approach for exterior painting and staining protects your home, enhances curb appeal, and extends the life of siding, trim and decks. Whether you’re refreshing faded paint, renewing weathered stain, or preparing surfaces for a full colour change, the following guidance covers materials, surface preparation, application techniques and maintenance best practices for Canadian climates.
Materials and finishes
Paint types:
100% acrylic latex: Best general choice for siding, trim and soffits — flexible, durable, resists chalking and holds colour well in sun and cold.
Alkyd (oil-modified) enamels: Useful for metal or high-traffic trim; older houses often have oil-based finishes underneath, which can affect adhesion.
Primer: Use a stain-blocking primer for tannin-rich woods (cedar), knots, or surfaces with previous staining or water damage.
Stain types:
Transparent and semi-transparent stains: Preserve wood grain; best for decks, fences and cedar siding. Reapplication every 1–3 years may be required depending on exposure.
Semi-solid and solid stains: Provide more pigment and protection while still showing some texture; extend maintenance intervals to 3–5 years.
Deck-specific formulations: Include slip resistance and UV inhibitors.
Sheen recommendations:
Flat to low-sheen paints for broad siding to mask imperfections.
Satin or eggshell for ease of cleaning on trim and doors.
Semi-gloss or gloss for window frames, fascia and other trim requiring frequent washing.
Surface preparation
Inspection:
Check for rot, insect damage, and loose boards. Replace or repair compromised wood before finishing.
Test adhesion on existing surfaces if unsure of previous coatings.
Cleaning:
Remove dirt, mildew and flaking coatings using pressure washing (use moderate pressure for wood to avoid damage) or scrubbing with a house-cleaning solution.
Allow adequate drying time — often several days in cool or humid conditions.
Removing loose paint and sanding:
Scrape and sand back to a feathered edge to ensure new paint bonds well. On older homes, test for lead-based paint and follow appropriate removal/disposal regulations if present.
For large areas, power sanding should be used cautiously to avoid gouging.
Repair and priming:
Fill cracks and nail holes with suitable exterior-grade filler.
Prime bare wood, repaired areas and metal with an appropriate primer. For cedar and other high-tannin woods, use a stain-blocking primer.
For surfaces with mildew, treat with a bleach solution or mildew remover before priming.
Application techniques
Conditions:
Ideal temperature range for most exterior paints and stains: 10°C to 25°C. Avoid application when freezing temperatures are expected within 24 hours or in direct, hot sun that can cause flash drying.
Avoid painting in high humidity or rain.
Tools:
Brushes: Synthetic bristles for latex; natural bristles for oil-based products.
Rollers: Use appropriate nap length based on siding texture.
Sprayers: Airless sprayers speed application on large areas and textured surfaces; always back-roll or brush after spraying for uniform coverage and adhesion.
Coats:
Two coats of finish paint over a properly primed surface are standard for durability and colour uniformity.
For stains, follow manufacturer directions; some solid stains act like paint and usually require two coats, while transparent stains may need only one.
Trim and detail work:
Paint trim after siding to avoid drips; caulk joints between trim and siding with a paintable exterior caulk.
Use painter’s tape where necessary for sharp lines, removing tape before the final coat fully cures.
Special considerations for Canadian climates
Freeze–thaw cycles: Use flexible, acrylic formulations that tolerate expansion and contraction. Ensure proper sealing and flashing around windows and doors to prevent water ingress that accelerates finish failure.
UV exposure: Southern and western exposures receive higher UV stress; select products with strong UV resistance and consider more frequent maintenance on decks and exposed trim.
Moisture and mould: In coastal or humid areas, choose products with mildewcide additives and ensure good ventilation in eaves and soffits to reduce trapped moisture.
Decks, fences and pergolas
Wood selection and preparation:
Use pressure-treated lumber for structural parts and rot-resistant species (cedar, redwood) for visible