
The Impact of Professional Commercial Painting on Office Spaces
Common Areas Painting — Commercial Clients
Overview Commercial common areas are high-traffic spaces that shape clients’ and tenants’ first impressions. Thoughtful painting in lobbies, corridors, stairwells, elevators, amenity spaces and shared washrooms improves aesthetics, supports branding, increases durability and reduces long‑term maintenance costs.
Key considerations for commercial projects
Durability and finish selection: Use commercial-grade products with stain- and scuff-resistant finishes. Eggshell or satin is typical for corridors and amenity areas; semi-gloss is preferred for trim, handrails and washrooms for easier cleaning.
Surface preparation: Proper cleaning, repair, priming and moisture mitigation extend coating life. Address drywall seams, nail pops, concrete spalling and existing glossy coatings before applying finish coats.
Colour strategy and branding: Select palettes that support the building’s identity and user experience. Neutral base colours increase perceived space and light; accent walls or feature bands can highlight wayfinding, art, or brand colours.
Safety and accessibility: Choose low-VOC, low-odour products for occupied spaces. Ensure contrast levels meet accessibility guidelines for stairs, ramps and handrails. Use anti-slip coatings on floors where required.
Code and material compliance: Confirm materials meet local fire and building codes for flame spread and smoke development. In Canada, verify requirements relevant to provincial and municipal regulations and any LEED/BOMA/other sustainability targets.
Scheduling and occupant disruption: Plan phased painting to maintain access. Off-hours and weekend work reduce disruption. Coordinate with cleaning, security and building management for staging and signage.
Warranty and maintenance: Specify manufacturer warranties and provide maintenance plans that include touch-up kits, recommended cleaning procedures and projected recoat timelines.
Common space types and recommended approaches
Lobbies and reception areas: Focus on high-quality finishes and feature elements (accent walls, trims). Use durable primers and topcoats suited to high visibility and occasional impact.
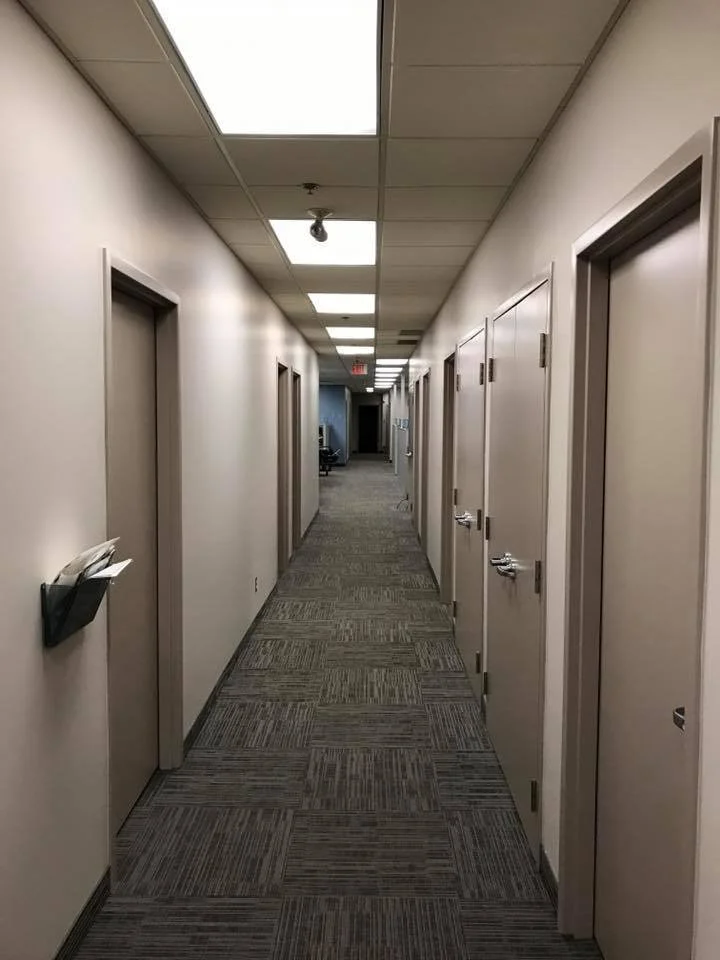
Corridors and stairwells: Prioritise scuff-resistant finishes and impact protection (chair rails, vinyl corner guards). Consider two-tone schemes to hide dirt at lower wall areas.
Elevators and vestibules: Use wipeable, high-gloss or semi-gloss paints for easy cleaning. Include meticulous prep to prevent visible imperfections.
Amenity rooms and gyms: Choose mildew-resistant coatings in humid areas; harder-wearing finishes where equipment contacts walls. Colour can define activity zones.
Washrooms and locker rooms: Use moisture-tolerant primers and semi-gloss or gloss finishes; ceramic tile and waterproof substrates where required.
Parking garages and service corridors: Use concrete-appropriate coatings with chemical and abrasion resistance. Provide clear demarcation for signage, directional arrows and parking stalls.
Retail frontages within a building: Coordinate with tenant signage and storefront materials; allow for frequent touch-ups in high-contact zones.
Project workflow
Site assessment: Document existing conditions, substrate types, moisture issues and previous coatings.
Colour and finish proposal: Present palette options, mock-ups and sample panels in situ for client approval.
Surface prep plan: Detail repairs, priming strategy and equipment needs (scaffolding, lifts, containment).
Scheduling plan: Define phasing, off-hours work, access restrictions and cleaning procedures.
Execution: Carry out prep, prime, and finish coats using agreed products and quality checks.
Final inspection and touch-ups: Walk the space with client, address deficiencies and provide maintenance instructions.
Handover documentation: Supply product data sheets, warranties, maintenance schedules and touch-up materials.
Cost drivers
Surface condition and prep needs
Type and quality of coatings
Extent of access equipment (scaffolding, lifts)
After-hours or phased scheduling requirements
Special finishes, murals or branding treatments
Size and complexity of areas (ceilings, multiple levels)
Sustainability and indoor air quality
Specify low-VOC and low-odour paints to minimise occupant discomfort during and after painting.
Choose durable coatings to reduce frequency of recoat cycles.
Recycle or properly dispose of leftover materials and containers according to local regulations.
Tips for building owners and property managers
Plan painting during moderate seasonal conditions to improve drying and curing.
Combine painting with other maintenance (lighting upgrades, signage refresh, flooring repairs) to reduce repeated disruptions.
Maintain a colour log and touch-up kit to address scuffs quickly and avoid larger repaints.
Conduct annual inspections of high-traffic zones and schedule targeted maintenance before damage becomes widespread.
Conclusion Painting common areas in commercial buildings is both aesthetic and functional. With the right planning — from substrate assessment and product selection to scheduling and maintenance planning — painting improves building image, extends surface life and enhances occupant satisfaction.
Commercial Stairway Painting
Commercial Feature Wall Painting
A commercial feature wall is a powerful design element that can transform an ordinary workspace into a distinctive, on-brand environment. Whether you’re refreshing an office lobby, retail storefront, hotel reception or restaurant interior, a professionally painted feature wall creates focal interest, reinforces brand identity and improves customer and employee experience.
Why choose a painted feature wall?
Cost-effective impact: Painting a single wall is far less expensive than full-room renovations but delivers immediate visual change.
Brand reinforcement: Use colours, logos, or slogans that align with your brand palette to strengthen recognition.
Versatility: From subtle textures and muted tones to bold murals and geometric patterns, paint techniques suit any aesthetic.
Quick turnaround: Professional painters can complete most feature-wall projects in a day or two, minimising business disruption.
Durable and maintainable: Commercial-grade paints and finishes stand up to wear, are easy to clean and can be retouched as needed.
Popular feature wall styles for commercial spaces
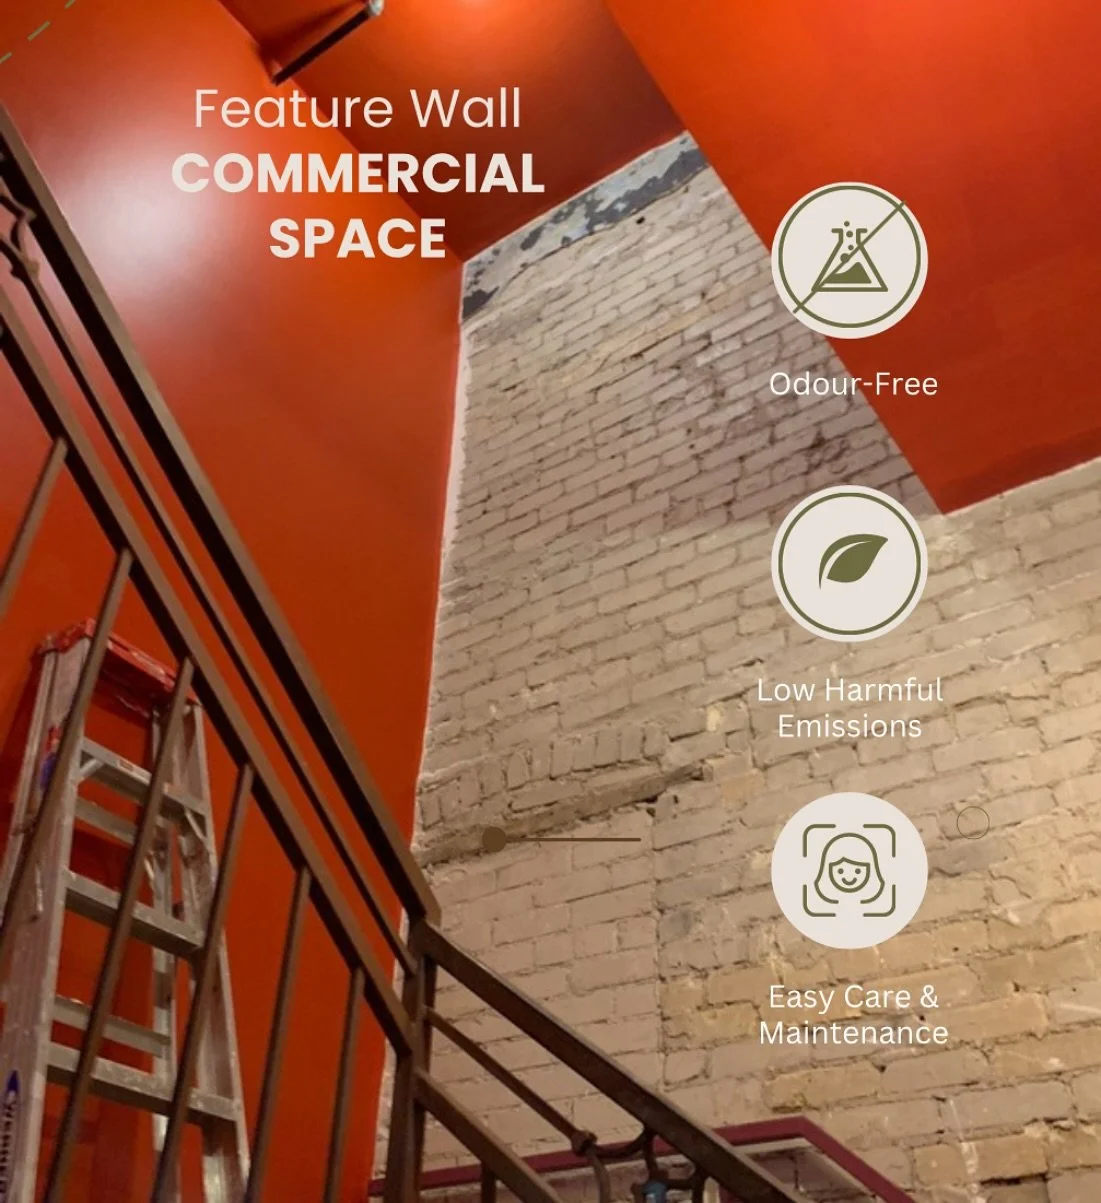
Accent colour wall: A single bold or contrasting colour to draw attention or define a space.
Textured finishes: Venetian plaster, suede effects, or faux concrete for a tactile, upscale appearance.
Geometric patterns: Sharp lines, colour blocking or repeating motifs that lend a modern, custom look.
Mural and illustrative art: Hand-painted or stencilled imagery that tells a brand story or creates a memorable environment.
Brand graphics and logos: High-quality painted logos or slogan walls that communicate identity clearly.
Ombre and gradient walls: Smooth colour transitions that create depth and a sophisticated atmosphere.
Chalkboard or writable walls: Functional surfaces for menus, announcements or interactive customer engagement.
The process — what to expect
Consultation and design
Discuss goals, brand guidelines, and functional needs.
Site visit and measurements to assess surface condition, lighting and access.
Design options: colour choices, pattern mockups and finish recommendations.
Preparation
Protect floors, furnishings and fixtures with drop cloths and masking.
Repair and prime surfaces: filling holes, sanding and applying appropriate primers for adhesion and longevity.
Painting and detailing
Apply base coats with consistent coverage.
Execute feature techniques—stencilling, masking for geometric lines, or hand-painted mural work—using skilled applicators.
Finish with protective topcoats where required (washable, scuff-resistant or anti-graffiti coatings).
Clean-up and handover
Remove all masking, clean the site and perform a final inspection with the client.
Provide care instructions and touch-up recommendations.
Material and finish selection
Paint type: Use commercial-grade acrylic or alkyd paints depending on the surface and durability needs.
Finish level: Matte and eggshell hide imperfections; satin and semi-gloss are easier to clean and more durable for high-traffic areas.
Environmental considerations: Low-VOC and zero-VOC options improve indoor air quality and support sustainability goals.
Budget considerations
Costs vary based on wall size, complexity of design, surface preparation, and finish products. Simple accent walls are typically the most affordable; custom murals and intricate stencilling increase labour and design time. Request a detailed written estimate with scope, timelines and warranty information.
Maintenance and longevity
Use washable finishes in high-traffic zones and follow manufacturer cleaning instructions.
Schedule periodic inspections for scuffs or chips; small areas can be retouched to extend the life of the wall.
For writable or chalkboard walls, follow reconditioning steps recommended by the painter.
Choosing a professional painter
Look for commercial experience, relevant certifications and a portfolio of feature-wall projects.
Ask for references, proof of insurance and a clear contract outlining project milestones.
Ensure the painter works with your maintenance team to plan minimal operational disruption.
A well-executed feature wall is a cost-efficient, high-impact way to strengthen brand presence and improve the look and feel of commercial spaces. With the right design and professional execution, a painted feature wall becomes a long-lasting asset that supports both aesthetics and function.
Interior Industrial Painting
Commercial Sports Complex Interior Painting
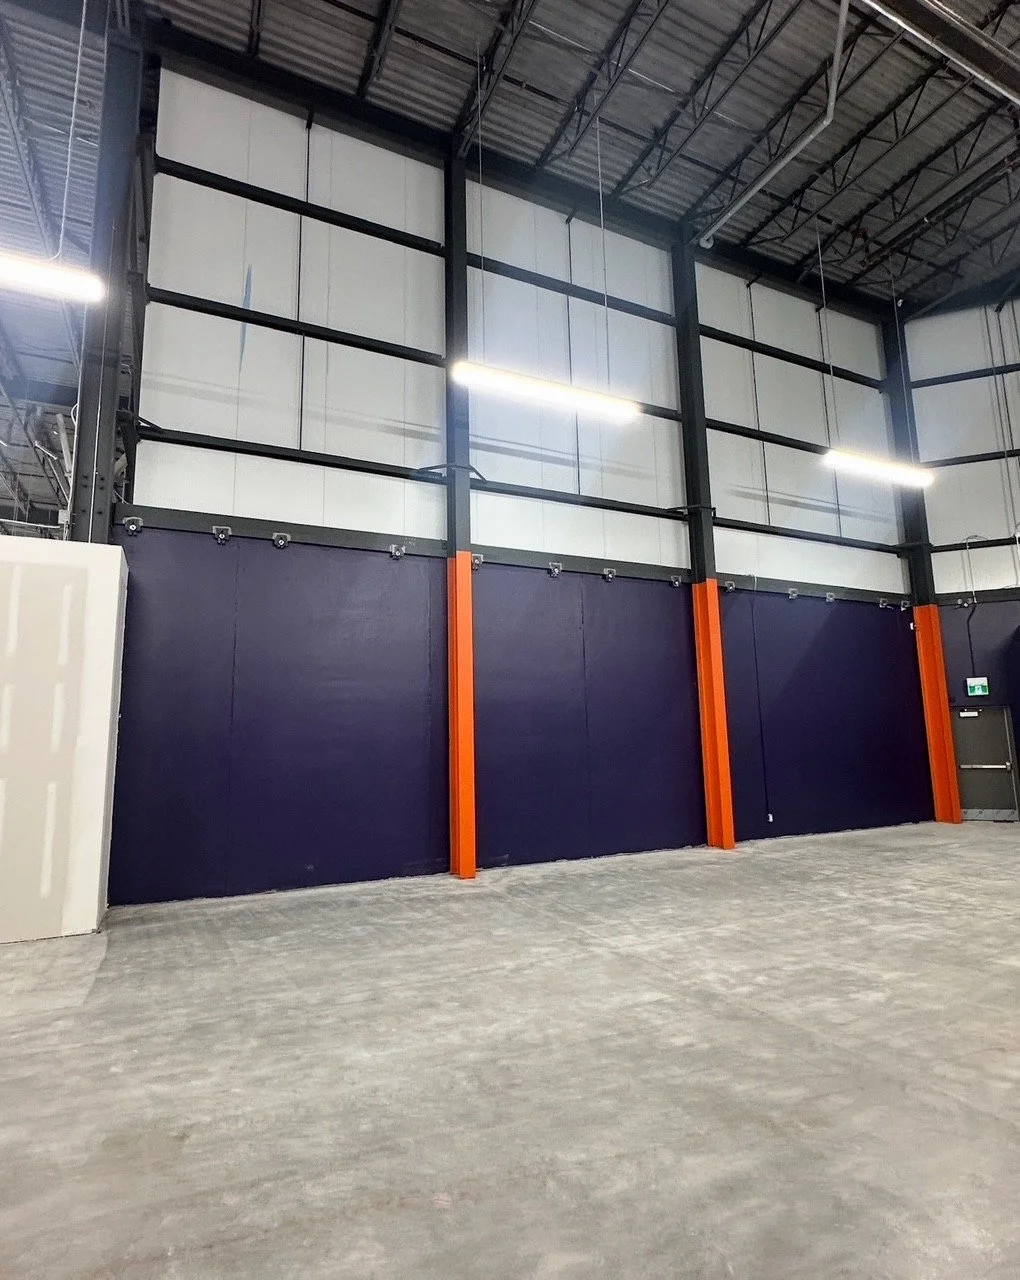
Overview A professional interior paint project for a commercial sports complex enhances aesthetics, improves durability, and supports safety and wayfinding. Proper planning and execution are essential to minimise downtime, protect specialized surfaces, and deliver a long-lasting finish suited to high-traffic athletic environments.
Key considerations
Surface types: Gym floors (wood or synthetic), concrete block or poured concrete walls, metal railings and bleachers, acoustic panels, locker rooms, restrooms, offices, corridors, concessions and walkways. Each requires specific preparation and coatings.
Traffic and impact: Athletic spaces face frequent abrasion, scuffs, ball strikes and equipment contact. Use abrasion-resistant coatings and high-impact finishes where needed.
Moisture and humidity: Pool areas, steam rooms, locker rooms and some indoor courts require moisture-tolerant primers and mould- and mildew-resistant paints.
Safety and code: Select low-VOC paints for indoor air quality. Ensure finishes meet local fire, slip-resistance and accessibility regulations (e.g., contrast colours for visual cues, non-reflective finishes in spectator areas).
Downtime and scheduling: Coordinate painting during off-hours, seasonal closures, or phased sections to keep facilities operational. Plan for curing times and ventilation.
Colour and branding: Use team colours and brand identity consistently; apply durable graphics, stripes and court lines using specialised coatings for crisp edges and long wear.
Acoustics and lighting: Matte or low-sheen coatings reduce glare; acoustic panel-compatible coatings preserve sound control properties.
Recommended coatings and approaches
Gym and court surfaces:
Wood: Sport-grade acrylic finishes designed for hardwood courts. Use oil-modified or water-based urethane floor finish per manufacturer recommendations. Ensure proper sanding, fill and sealer steps; apply multiple topcoats for abrasion resistance and consistent sheen.
Synthetic (vinyl, polyurethane surfacing): Use coatings compatible with the manufacturer’s surface — typically water-based elastomeric or acrylic topcoats formulated for sports surfaces.
Line marking: Use durable, quick-dry line paints formulated for sports courts; consider using stencils and tape designed for sport lines.
Concrete floors and ramps:
Use epoxy or polyaspartic floor coatings for high-wear zones, entrances and multipurpose areas. Polyaspartic cures fast and allows quick return to service.
Walls and block:
Seal and prime concrete block with masonry primer. Use high-hide, washable acrylic latex paints for easy cleaning and touchups. In high-contact areas, consider epoxy-modified wall coatings.
Metal surfaces:
Remove rust, prime with corrosion-inhibiting primer, then finish with enamel or polyurethane topcoat suited to metal.
Restrooms, locker rooms and pool-adjacent areas:
Use mildew-resistant, washable epoxy or acrylic coatings designed for high-moisture environments.
Acoustic panels and ceilings:
Use breathable, low-VOC pigment coatings specifically rated for acoustic substrates to avoid reducing sound absorption.
Bleachers and spectator seating:
Use abrasion- and UV-resistant coatings for trotted metal or plastic seating and risers.
Preparation and execution
Inspection and testing: Assess substrates for moisture content, existing coatings, contaminants, and structural issues. Conduct adhesion and moisture tests where necessary.
Surface preparation: Pressure wash concrete (where appropriate), sand or abrade floors and metals, repair cracks and holes, apply fillers and sealants. Remove mould and mildew using appropriate cleaners and allow surfaces to dry.
Priming: Use primers matched to substrate and topcoat chemistry — e.g., epoxy primers for concrete or floors, zinc-rich or anti-corrosive primers for metal, stain-blocking primers for nicotine or graffiti-affected areas.
Application methods: Use rollers and brushes for walls and ceilings; use floor finish machines and squeegees for large floor areas; spray application for speed on walls and metal when ventilation and masking permit. Mask and protect fixtures, glass, vents and flooring not being coated.
Quality control: Monitor film thickness, adhesion, and uniformity. Perform test sections for colour and sheen approval. Maintain environmental controls (temperature, humidity) during application and cure.
Safety and ventilation: Implement dust and fume control, respiratory protection, and confined-space procedures where needed. Post signage and restrict access until coatings have cured.
Maintenance and warranties
Provide a maintenance schedule: recommended cleaning procedures, approved cleaning agents, spot-repair methods and recoat intervals for high-wear zones.
Warranty and documentation: Offer written warranty terms for materials and labour. Provide product data sheets, safety data sheets and maintenance instructions to facility managers.
Estimated timeline (example for medium-sized facility)
Inspection and planning: 1–3 days
Surface prep and repairs: 3–7 days
Priming and painting (phased): 3–
Polished Concrete Epoxy Floor
Marbleized Silver Epoxy Floor Painting
Overview
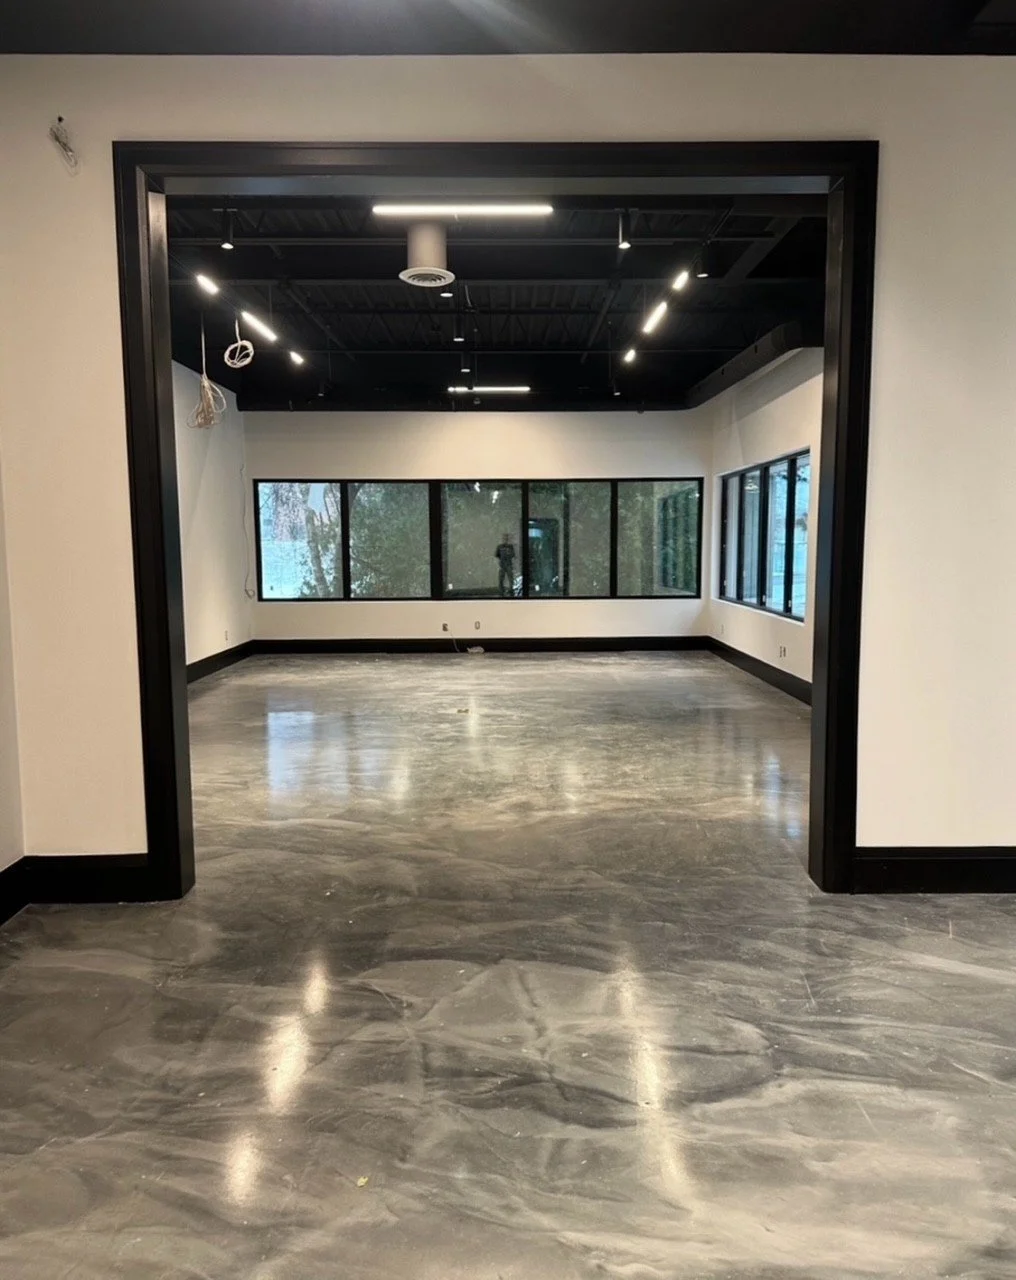
A marbleized silver epoxy floor combines durability with a high-end, reflective appearance that mimics natural marble. This finish uses metallic pigments suspended in epoxy to create flowing, three-dimensional patterns with silver, grey and pearlescent highlights. It’s suitable for residential garages, basements, showrooms and commercial spaces where both aesthetics and resilience are important.
Benefits
Appearance: Produces a luxurious, polished look with depth and metallic shimmer that changes with light and viewing angle.
Durability: Epoxy provides a hard, impact- and abrasion-resistant surface that stands up to foot traffic, light vehicle traffic and cleaning.
Chemical resistance: Properly formulated and cured epoxy resists many household chemicals, oils and detergents.
Seamless surface: Easy to clean and sanitary because there are no grout lines or joints.
Customizable: Colour intensity, veining patterns and topcoat sheen can be adjusted to match design goals.
Where to use
Residential: Garage floors, basements, entryways, feature rooms.
Commercial: Retail showrooms, boutique stores, offices, hospitality areas.
Light-industrial: Areas with moderate traffic where an attractive, protective floor is desired.
Materials and tools
Two-part epoxy resin and hardener formulated for floor coating.
Metallic epoxy pigments (silver, pearl, pewter) and tinting colours (greys, charcoals).
Primer concrete sealer (if needed) compatible with epoxy.
Polyurethane or polyaspartic clear topcoat (optional for UV resistance and extra abrasion protection).
Concrete patch/filler for repairs.
Diamond grinder or shot blaster for surface preparation.
Acid etch kit (alternative for light prep) or neutralizing solution.
Mixing pails, drill with mixing paddle, disposable stirring sticks.
Notched squeegee, trowel, metal roller, spiked shoes.
Solvent-resistant gloves, goggles, respirator appropriate for VOCs.
Painter’s tape and plastic sheeting for masking.
Preparation
Assess substrate: Ensure concrete is structurally sound, dry and within acceptable moisture limits. Test for moisture vapour transmission (MVT) or perform a calcium chloride test as required.
Repair: Fill cracks and spalls with appropriate concrete filler or epoxy patch. Allow full cure.
Surface profile: Mechanically prepare the surface using a diamond grinder or shot blaster to achieve ICRI CSP 2–3 (light to medium profile). This ensures good epoxy adhesion. Acid etching is a lower-quality alternative but less reliable.
Clean: Remove all dust, oil, grease and contaminants. Use a vacuum and tack cloth; allow surface to dry.
Prime: Apply epoxy primer per manufacturer instructions to improve adhesion and reduce pinholing. Allow to cure to tack-free stage specified by product.
Application process
Mix epoxy base and hardener according to manufacturer’s ratios. Mix thoroughly, scraping sides and bottom, and avoid whipping excess air into the mix.
Apply base coat: Use a notched squeegee or roller to apply a thin, even base layer (often a light grey or neutral tone). Work in manageable sections to maintain a wet edge. Back-roll with a roller to remove lines.
Create marble effect: While the base coat is still wet (work within pot life and tack window), broadcast or drop metallic pigments and colours. Techniques include:
Pouring circular pools of metallic pigment and using a brush, trowel or roller to swirl and feather into marbling patterns.
Spraying or flicking pigment with a chip brush for veining.
Back-brushing and dragging a notched trowel lightly to form soft, layered veins.
Using a heat gun or propane torch at a distance to level and help pigments flow—use caution to avoid overheating.
Blend and refine: Step back frequently to evaluate pattern and consistency. Add more pigment for depth or soften areas with a clean roller. Avoid overworking, which can muddy colours.
Allow to flash off: Let the decorative layer partially cure per product specifications until sufficiently tack-free to accept a clear topcoat (timing varies by product and temperature).
Clear topcoat: Apply one or two coats of a clear polyurethane, polyaspartic or epoxy topcoat for chemical resistance, UV stability and desired sheen. Use a roller for even coverage and back-roll to remove bubbles. Maintain recommended recoat windows to ensure proper intercoat adhesion.
Finishing options and sheen
High gloss: Maximizes metallic shimmer and depth—common choice for marbleized finishes.
Satin: Slightly less reflective