
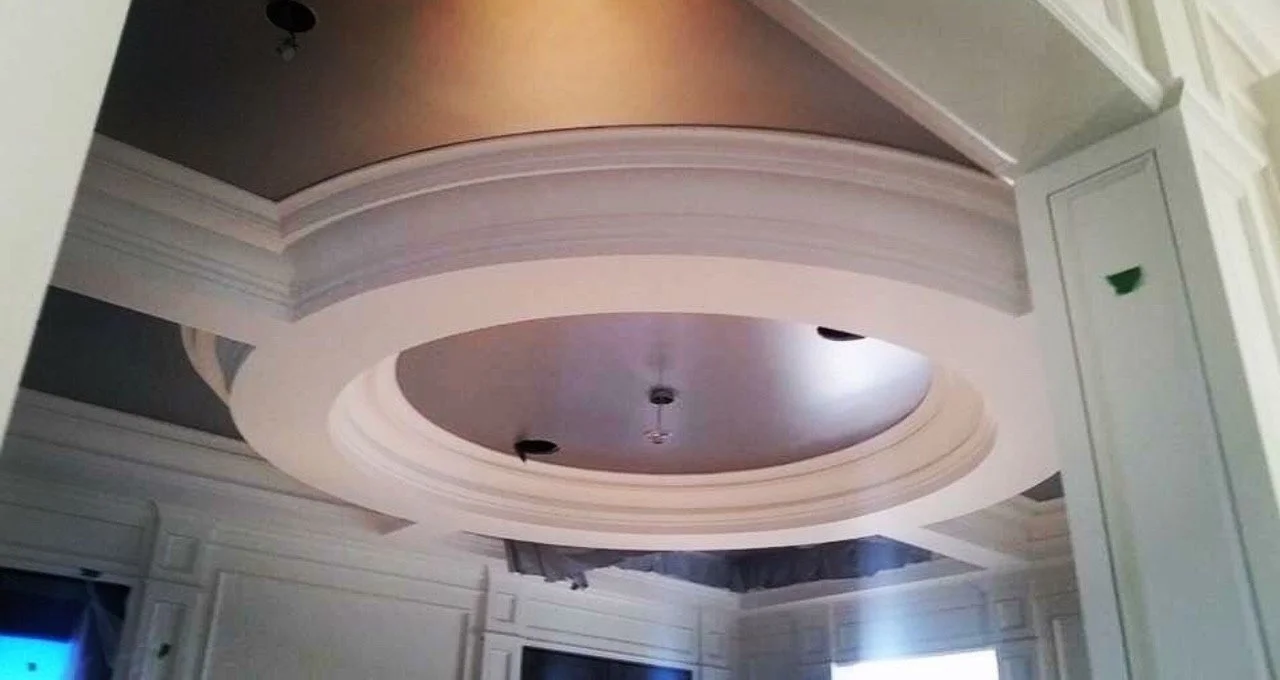
High Ceiling Residential Painting
A well-painted ceiling can refresh a room, improve lighting, and protect surfaces from moisture and stains. Residential ceiling painting requires specific preparation, materials, and techniques to achieve a smooth, long-lasting finish with minimal mess.
When to repaint a ceiling
Visible stains or water marks
Peeling, cracking, or bubbling paint
Discoloured or yellowing surfaces
After repairs (drywall patches, plaster work)
When changing wall colours or updating a room’s look
To improve light reflection in dim rooms
Surface types and considerations
Drywall: Most common. Requires joint-compound repairs, sanding, priming.
Plaster: Often older homes. Repair hairline cracks with plaster patching compounds; avoid over-sanding.
Popcorn or textured ceilings: Require special care—texture may be left alone, repaired locally, or skim-coated smooth before painting.
Stained or smoke-damaged ceilings: Use a stain-blocking primer (oil-based or specialised acrylic) before topcoat.
Wood or tongue-and-groove ceilings: Clean, sand lightly, and use paint suitable for exterior-grade or interior wood, or consider a tinted primer.
Preparation checklist
Clear or cover furniture and floors with drop cloths or plastic sheeting.
Remove light fixtures, ceiling fans, and smoke detectors where possible; cover or turn off circuits as needed.
Repair cracks, holes, and seams. Apply joint compound, allow to dry, then sand smooth.
Clean the surface to remove dust, cobwebs, grease, or nicotine residue.
Sand glossy surfaces to promote adhesion.
Prime patched areas or the entire ceiling when changing from dark to light or when dealing with stains or new surfaces.
Mask walls, trim, windows and door frames with painter’s tape for clean lines.
Paint and primer selection
Finish: Flat or matte finishes are traditional for ceilings because they hide imperfections and reduce glare. Eggshell is rarely used on ceilings but can be chosen for durability if needed.
Paint type: Interior acrylic (water-based) latex paints are standard—easy to clean and low odour. For stain-prone ceilings, use a stain-blocking primer first.
Ceiling paint: Available in formulations that reduce drips and spatter and are slightly thicker for better coverage from overhead application.
Primer: Use a high-adhesion or stain-blocking primer for new drywall, repaired areas, or discoloured ceilings.
Tools and equipment
9–12 mm nap roller covers for smooth ceilings; use longer naps (12–18 mm) for textured ceilings.
Extension pole for rollers to reduce ladder use.
Angled sash brush for cutting in at edges.
Paint tray and liners, paint roller grid optional.
Step ladder for edges and fixtures.
Drop cloths, masking tape, protective eyewear, and masks for dust.
Small hand tools: putty knife, sanding block, patching compound.
Application technique
Cut in first: use an angled brush to paint a 2–3 inch border along walls, corners, and around fixtures.
Roll in sections: load roller evenly, work in 3–4 square metre sections, use a “W” or “M” pattern then fill in to distribute paint evenly.
Maintain a wet edge to avoid lap marks. Overlap slightly with the cut-in borders.
Apply two coats if necessary—first coat may raise the nap of the drywall slightly; a second coat gives uniform coverage and better durability.
Keep ventilation to help drying but avoid drafts that cause uneven drying or dust contamination.
For textured ceilings, use a thicker nap and roll slowly to ensure paint reaches recesses.
Special situations
High ceilings: Use extension poles, scaffolding, or hire professionals if heights exceed safe ladder use.
Rooms with poor ventilation: Choose low-VOC or zero-VOC paints and allow extra drying time.
Kitchens and bathrooms: Use mould- and mildew-resistant paints/primers to resist humidity.
Fresh drywall: Prime before painting to avoid uneven sheen and joint compound absorption.
Cleanup and touch-ups
Remove painter’s tape after paint becomes tacky but before fully dry to prevent peeling.
Clean brushes and rollers with warm soapy water for acrylic paints; follow product directions for specialist paints.
Store leftover paint in a labelled, sealed container for future touch-ups.
For small scuffs or marks, spot-prime and repaint rather than redoing the entire ceiling.
When to call a professional
Very high or vaulted ceilings
Extensive water damage, structural issues, or mould
Full texture removal or skim-coating for a smooth finish
Electrical work or fixture removal beyond homeowner comfort
Tight timelines or desire for a perfectly uniform commercial finish