
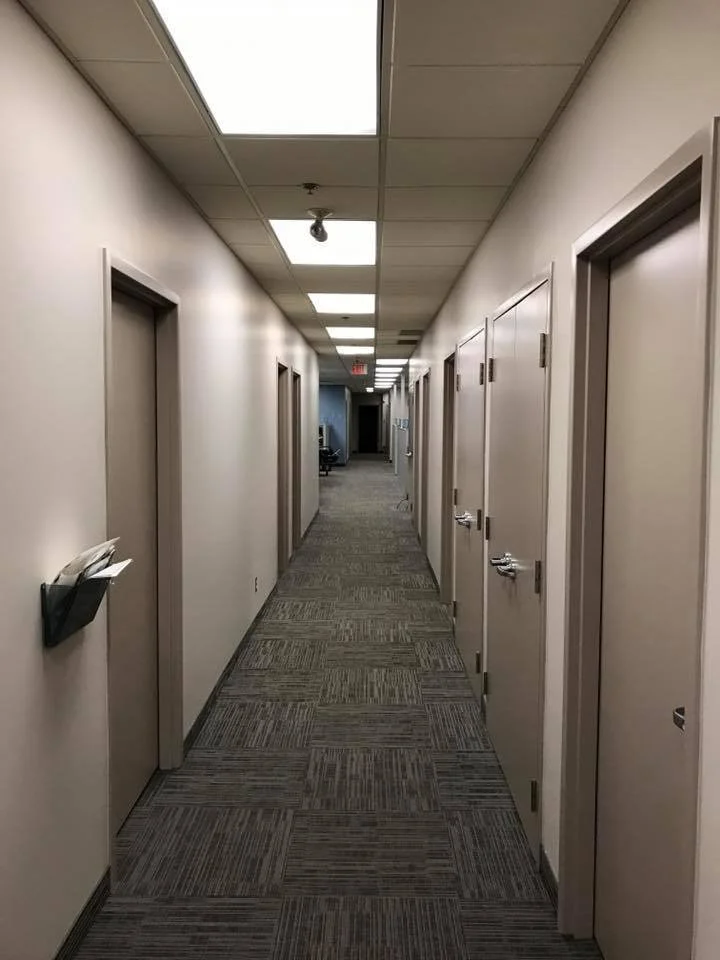
The Impact of Professional Commercial Painting on Office Spaces
Common Areas Painting — Commercial Clients
Overview Commercial common areas are high-traffic spaces that shape clients’ and tenants’ first impressions. Thoughtful painting in lobbies, corridors, stairwells, elevators, amenity spaces and shared washrooms improves aesthetics, supports branding, increases durability and reduces long‑term maintenance costs.
Key considerations for commercial projects
Durability and finish selection: Use commercial-grade products with stain- and scuff-resistant finishes. Eggshell or satin is typical for corridors and amenity areas; semi-gloss is preferred for trim, handrails and washrooms for easier cleaning.
Surface preparation: Proper cleaning, repair, priming and moisture mitigation extend coating life. Address drywall seams, nail pops, concrete spalling and existing glossy coatings before applying finish coats.
Colour strategy and branding: Select palettes that support the building’s identity and user experience. Neutral base colours increase perceived space and light; accent walls or feature bands can highlight wayfinding, art, or brand colours.
Safety and accessibility: Choose low-VOC, low-odour products for occupied spaces. Ensure contrast levels meet accessibility guidelines for stairs, ramps and handrails. Use anti-slip coatings on floors where required.
Code and material compliance: Confirm materials meet local fire and building codes for flame spread and smoke development. In Canada, verify requirements relevant to provincial and municipal regulations and any LEED/BOMA/other sustainability targets.
Scheduling and occupant disruption: Plan phased painting to maintain access. Off-hours and weekend work reduce disruption. Coordinate with cleaning, security and building management for staging and signage.
Warranty and maintenance: Specify manufacturer warranties and provide maintenance plans that include touch-up kits, recommended cleaning procedures and projected recoat timelines.
Common space types and recommended approaches
Lobbies and reception areas: Focus on high-quality finishes and feature elements (accent walls, trims). Use durable primers and topcoats suited to high visibility and occasional impact.
Corridors and stairwells: Prioritise scuff-resistant finishes and impact protection (chair rails, vinyl corner guards). Consider two-tone schemes to hide dirt at lower wall areas.
Elevators and vestibules: Use wipeable, high-gloss or semi-gloss paints for easy cleaning. Include meticulous prep to prevent visible imperfections.
Amenity rooms and gyms: Choose mildew-resistant coatings in humid areas; harder-wearing finishes where equipment contacts walls. Colour can define activity zones.
Washrooms and locker rooms: Use moisture-tolerant primers and semi-gloss or gloss finishes; ceramic tile and waterproof substrates where required.
Parking garages and service corridors: Use concrete-appropriate coatings with chemical and abrasion resistance. Provide clear demarcation for signage, directional arrows and parking stalls.
Retail frontages within a building: Coordinate with tenant signage and storefront materials; allow for frequent touch-ups in high-contact zones.
Project workflow
Site assessment: Document existing conditions, substrate types, moisture issues and previous coatings.
Colour and finish proposal: Present palette options, mock-ups and sample panels in situ for client approval.
Surface prep plan: Detail repairs, priming strategy and equipment needs (scaffolding, lifts, containment).
Scheduling plan: Define phasing, off-hours work, access restrictions and cleaning procedures.
Execution: Carry out prep, prime, and finish coats using agreed products and quality checks.
Final inspection and touch-ups: Walk the space with client, address deficiencies and provide maintenance instructions.
Handover documentation: Supply product data sheets, warranties, maintenance schedules and touch-up materials.
Cost drivers
Surface condition and prep needs
Type and quality of coatings
Extent of access equipment (scaffolding, lifts)
After-hours or phased scheduling requirements
Special finishes, murals or branding treatments
Size and complexity of areas (ceilings, multiple levels)
Sustainability and indoor air quality
Specify low-VOC and low-odour paints to minimise occupant discomfort during and after painting.
Choose durable coatings to reduce frequency of recoat cycles.
Recycle or properly dispose of leftover materials and containers according to local regulations.
Tips for building owners and property managers
Plan painting during moderate seasonal conditions to improve drying and curing.
Combine painting with other maintenance (lighting upgrades, signage refresh, flooring repairs) to reduce repeated disruptions.
Maintain a colour log and touch-up kit to address scuffs quickly and avoid larger repaints.
Conduct annual inspections of high-traffic zones and schedule targeted maintenance before damage becomes widespread.
Conclusion Painting common areas in commercial buildings is both aesthetic and functional. With the right planning — from substrate assessment and product selection to scheduling and maintenance planning — painting improves building image, extends surface life and enhances occupant satisfaction.
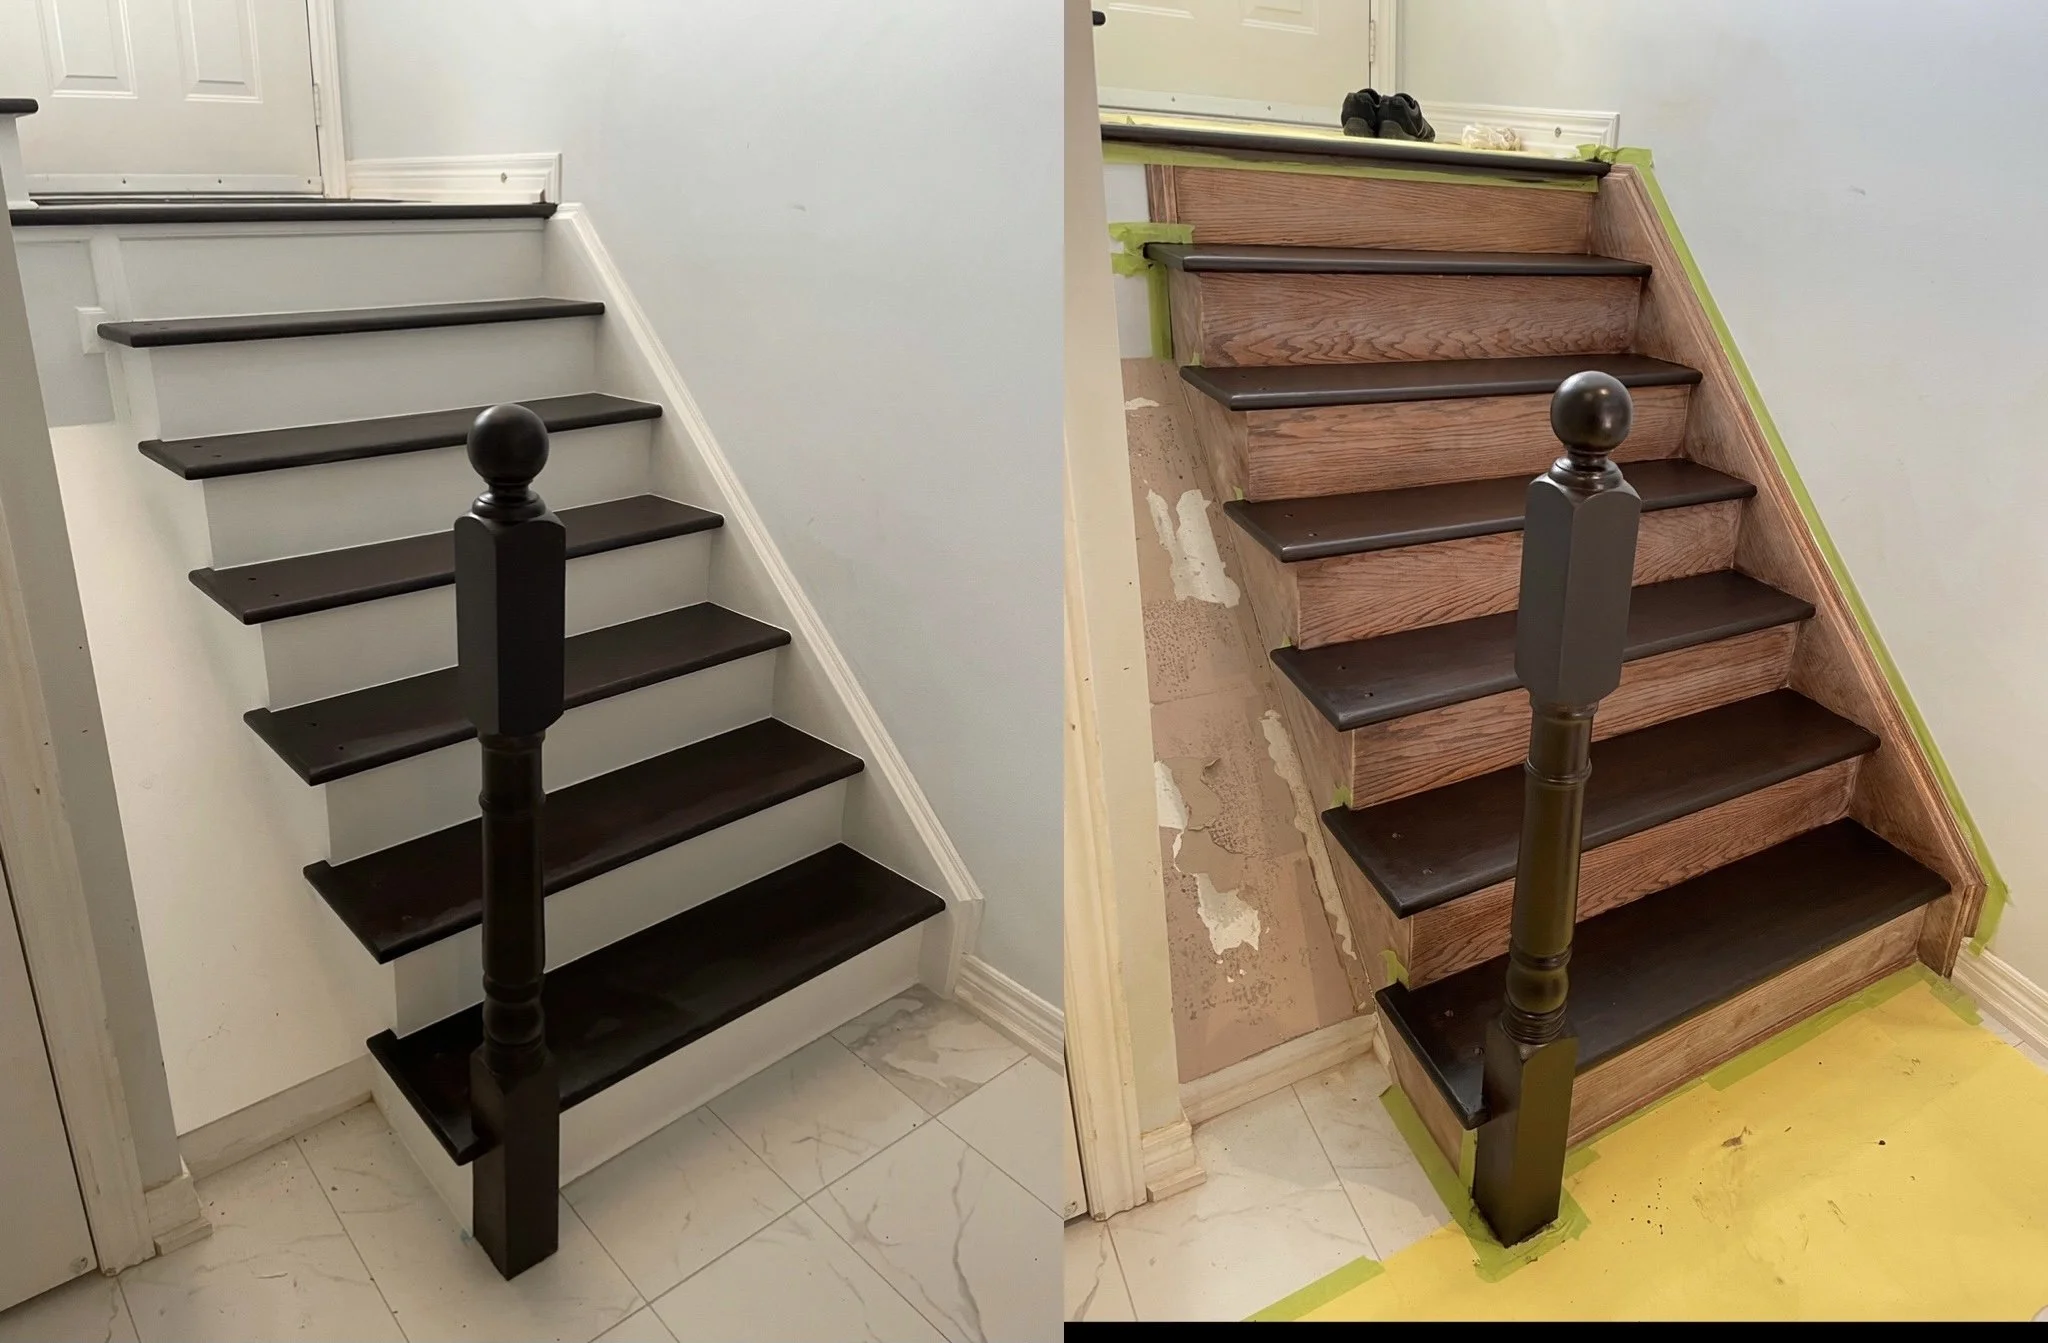
Before and After Staircase Painting & Staining:
Before and After: Staining and Painting Stairs
Before
Condition assessment: Inspect treads, risers and stringers for loose boards, squeaks, rot or splits. Check for old finishes—varnish, paint or polyurethane—that will affect adhesion.
Cleaning: Remove dirt, dust and grime with a stiff brush and a household cleaner. For greasy buildup, use a degreaser. Allow surfaces to dry completely.
Repairs: Tighten loose screws or add screws into stringers and risers. Replace damaged treads or risers. Fill small holes and cracks with wood filler; let it cure and sand smooth.
Stripping (if needed): If there’s thick old paint or varnish, strip with a chemical stripper or use an orbital sander. Take proper safety precautions—ventilation, gloves and eye protection.
Sanding: Sand to remove remaining finish and to level filled areas. Start with 80–100 grit for rough removal, then progress to 120–150 grit for a smooth surface. Vacuum and tack cloth to remove dust.
Priming (for painting): Apply a high-quality stain-blocking primer to bare wood or previously painted surfaces to ensure adhesion and uniform coverage. Let primer dry according to manufacturer’s instructions.
Testing stain/paint: Test chosen stain or paint on a concealed area or scrap wood to confirm colour and sheen. Wood species will affect stain appearance.
After (Staining)
Application: Apply stain with a brush, rag or foam applicator, following the wood grain. Wipe off excess after the recommended dwell time to achieve the desired depth of colour.
Drying: Allow stain to dry fully—often 24 hours but follow product instructions and local humidity conditions.
Protective finish: Apply a clear topcoat suitable for floors and stairs, such as an oil-modified polyurethane, water-based polyurethane, or hardwax oil. Use a durable, scuff-resistant formula rated for high traffic.
Sand between coats: Lightly sand with 220–320 grit between coats to ensure adhesion and smoothness. Clean dust before the next coat.
Number of coats: Typically 2–3 coats of polyurethane for stairs, depending on manufacturer recommendations and usage expectations.
Final cure: Full cure can take several days to weeks; avoid heavy traffic until the finish has developed sufficient hardness.
After (Painting)
Application: Use a high-quality floor or trim paint formulated for durability. Apply with a brush for edges and a short-nap roller for flat areas. Work in thin, even coats to prevent drips.
Non-slip considerations: Add a non-slip additive to the topcoat or use paint with built-in grit for safety on treads.
Drying and recoating: Follow paint manufacturer’s recoat times. Two coats are common for full coverage.
Protective topcoat (optional): For extra durability, apply a clear water-based or oil-based polyurethane compatible with the paint.
Clean lines: Use painter’s tape for riser/tread transitions and remove tape while the final coat is slightly tacky to avoid peeling.
Final Inspection and Maintenance
Cure time: Respect recommended curing times before allowing regular foot traffic or moving furniture.
Hardware reinstallation: Reinstall or replace stair nosing, moulding and hardware after full cure.
Maintenance: Clean regularly with a pH-neutral cleaner and avoid abrasive tools. For painted stairs, touch up chips promptly. For stained stairs, monitor wear on high-traffic areas and refinish when finish is thin or damaged.
Safety and appearance: Ensure non-slip surfaces remain effective; replace or refresh grit additives as needed. Reassess lighting and handrails for safety and visual impact.
Visual transformation summary
Before: Worn, dull or mismatched surfaces; visible damage; uneven colour; unsafe or tired appearance.
After (stained): Richer wood tone, enhanced grain, durable clear finish, natural look preserved.
After (painted): Clean, uniform colour, modern or classic style options, potentially higher contrast and renewed brightness.
Estimated timeline (typical)
Prep and repairs: 1–2 days (depends on extent of repairs and drying times)
Staining route: Stain day, then 2–3 days for clear coats and light sanding between coats → 3–7 days total.
Painting route: Primer + 1–2 paint coats + optional topcoat, with drying between coats → 2–5 days total.
Materials checklist
Safety gear: dust mask/respirator, gloves, eye protection
Cleaning supplies: degreaser, rags, brushes
Tools: sander, sanding discs, vacuum, tape measure, drill/screwdriver
Finishing supplies: primer (if painting), stain, paint, polyurethane/topcoat, brushes, rollers, tack cloth
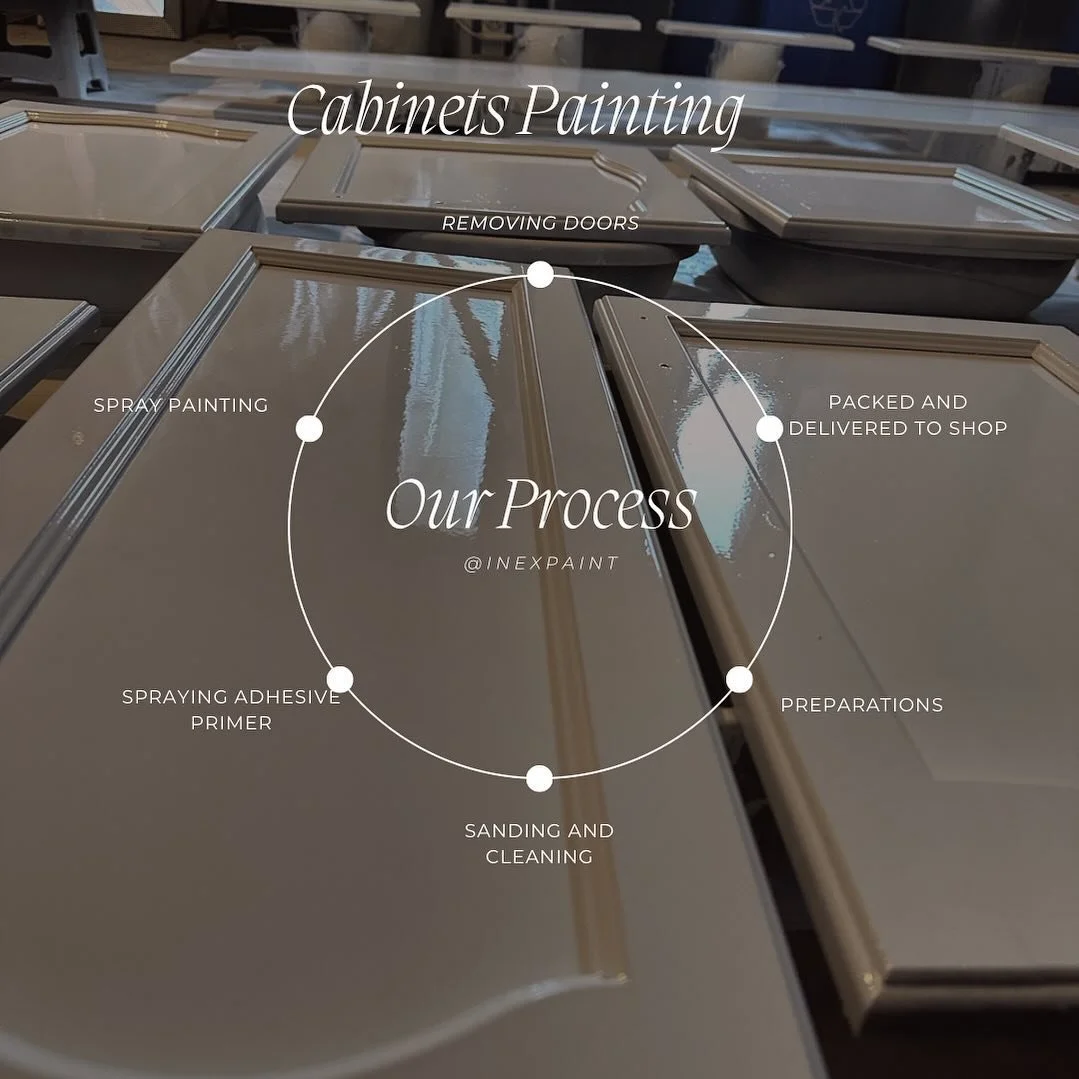
Interior Home Staining
S
Spray Painting Process
Overview Spray painting is a fast, efficient method to apply paint or coatings to surfaces using pressurised air or airless equipment to atomize and distribute the material. It’s widely used in automotive, industrial, commercial and residential applications. A successful spray painting job requires proper surface preparation, the right equipment and settings, correct technique, and careful finishing.
Materials and equipment
Paint or coating suitable for the substrate (acrylic enamel, polyurethane, lacquer, epoxy, waterborne or solvent-borne finishes).
Primer and, if required, sealer or filler.
Spray gun or spray system:
HVLP (high-volume, low-pressure) for fine finish and reduced overspray.
LVLP for low-pressure, high-transfer efficiency.
Conventional (compressed air) for fast application and traditional finishes.
Airless or air-assisted airless for heavy coatings and large surfaces.
Compressor (if using compressed-air guns) sized to deliver required CFM at operating pressure.
Hoses, regulators, filters and moisture traps.
Nozzles/tips matched to material viscosity and desired film thickness.
Mixing cups, strainers, thinning solvents
Spray Painting Process
Overview Spray painting is a fast, efficient method to apply paint or coatings to surfaces using pressurised air or airless equipment to atomize and distribute the material. It’s widely used in automotive, industrial, commercial and residential applications. A successful spray painting job requires proper surface preparation, the right equipment and settings, correct technique, and careful finishing.
Materials and equipment
Paint or coating suitable for the substrate (acrylic enamel, polyurethane, lacquer, epoxy, waterborne or solvent-borne finishes).
Primer and, if required, sealer or filler.
Spray gun or spray system:
HVLP (high-volume, low-pressure) for fine finish and reduced overspray.
LVLP for low-pressure, high-transfer efficiency.
Conventional (compressed air) for fast application and traditional finishes.
Airless or air-assisted airless for heavy coatings and large surfaces.
Compressor (if using compressed-air guns) sized to deliver required CFM at operating pressure.
Hoses, regulators, filters and moisture traps.
Nozzles/tips matched to material viscosity and desired film thickness.
Mixing cups, strainers, thinning solvents and measuring tools.
Personal protective equipment: respirator with appropriate cartridges, eye protection, gloves, coveralls, hearing protection.
Masking tape, paper, plastic sheeting and drop cloths.
Sandpaper, sanding blocks, abrasive pads and abrasive discs.
Clean rags, tack cloths and surface cleaners/degreasers.
Spray booth or well-ventilated area with appropriate fire prevention measures.
Steps in the spray painting process
Planning and safety
Confirm the substrate, coating type and end-use requirements (durability, gloss, chemical resistance).
Review material safety data sheets (MSDS) and ensure suitable ventilation and fire controls.
Select appropriate PPE and ensure training in spray equipment and handling of solvents.
Surface inspection and repair
Inspect the surface for rust, corrosion, cracks, dents, gouges, or old coatings that may fail adhesion.
Remove loose paint, rust and contaminants by scraping, wire brushing, sanding or media blasting as required.
Repair dents, gouges and holes with suitable fillers; allow proper cure time and sand to shape.
Cleaning and degreasing
Remove dust, oils, waxes and other contaminants using an appropriate solvent or cleaner.
Rinse if required by the cleaner and allow the surface to dry completely.
Wipe with a tack cloth to remove fine dust before priming or painting.
Masking and protection
Mask off areas not to be painted using tape, paper or plastic sheeting.
Cover surrounding surfaces and protect fixtures, handles and trim.
Ensure edges are sealed to avoid bleed-through and that masked surfaces are free of debris.
Priming
Select a primer compatible with the substrate and topcoat (rust-inhibiting primer for metal, adhesion-promoting primer for plastics, wood primer for porous timber).
Mix and strain the primer according to manufacturer instructions; thin only as recommended.
Apply primer evenly using proper gun settings and technique; multiple light coats are better than one heavy coat.
Allow recommended flash-off and cure times, then sand primer lightly to remove imperfections and promote adhesion.
Mixing and thinning topcoat
Mix topcoat components (base, hardener, reducer) in the correct ratio if using multi-component systems.
Strain mixed paint through a fine strainer to remove skin or debris.
Adjust viscosity with reducer as needed for the chosen spray equipment and ambient conditions; check with a viscosity cup or follow manufacturer guidelines.
Spray gun setup and test
Fit the correct tip/nozzle and set fluid, air and pattern controls.
Adjust pressure and pattern width for the material and surface geometry.
Perform test sprays on a card or scrap panel to fine-tune atomization, flow and overlap. Look for even coverage, absence of runs, sags or excessive orange peel.
Application technique
Maintain a consistent gun-to-surface distance (generally 6–12 inches for conventional guns; follow equipment guidance).
Hold the gun perpendicular to the surface and move in smooth, even passes.
Overlap each pass by about 50% to ensure uniform coverage.
Apply multiple thin coats rather than one heavy coat to reduce sagging, runs and solvent entrapment.
For edges, use edge techniques (feathering, tipping) to avoid buildup.
Monitor flash-off between coats as recommended; environmental factors like temperature and humidity affect drying times.